When smoke and water move in together, you face a loss that demands a measured response. You should assess fire, smoke, and water damage first, then remove standing water quickly. Next, dry walls, floors, and ceilings while tracking moisture. After that, clean soot, deodorize, sanitize, repair damaged materials, and prevent mold before hidden problems spread further.
Key Takeaways
- Assess all fire, smoke, and water damage first, documenting hazards, odors, and photos for insurance.
- Remove standing water with pumps or wet vacuums, checking hidden moisture behind walls and under floors.
- Dry walls, floors, ceilings, and cavities with air movers and dehumidifiers while tracking moisture levels daily.
- Clean soot and residue using HEPA vacuums, dry sponges, and material-appropriate cleaners, then seal debris in bags.
- Deodorize, sanitize, and prevent mold by using ventilation, air filtration, antimicrobial products, and humidity control below 60%.
Assess Fire, Smoke, and Water Damage
Start with a full damage assessment before you begin cleanup. You should document fire investigation findings, smoke detection results, and visible property damage room by room.
During emergency response, note structural instability, electrical concerns, and odor sources. Check water safety before you enter saturated areas, and mark environmental hazards such as soot residue, damaged insulation, and contaminated surfaces.
Record health risks from ash, smoke, and standing water, then photograph each area for insurance claims. Use cleanup equipment only after you map the scope of loss and identify restoration techniques that fit each material.
You’re not alone in this process; a methodical assessment helps your team move with confidence, protect one another, and set a precise plan for recovery.
Remove Standing Water Fast
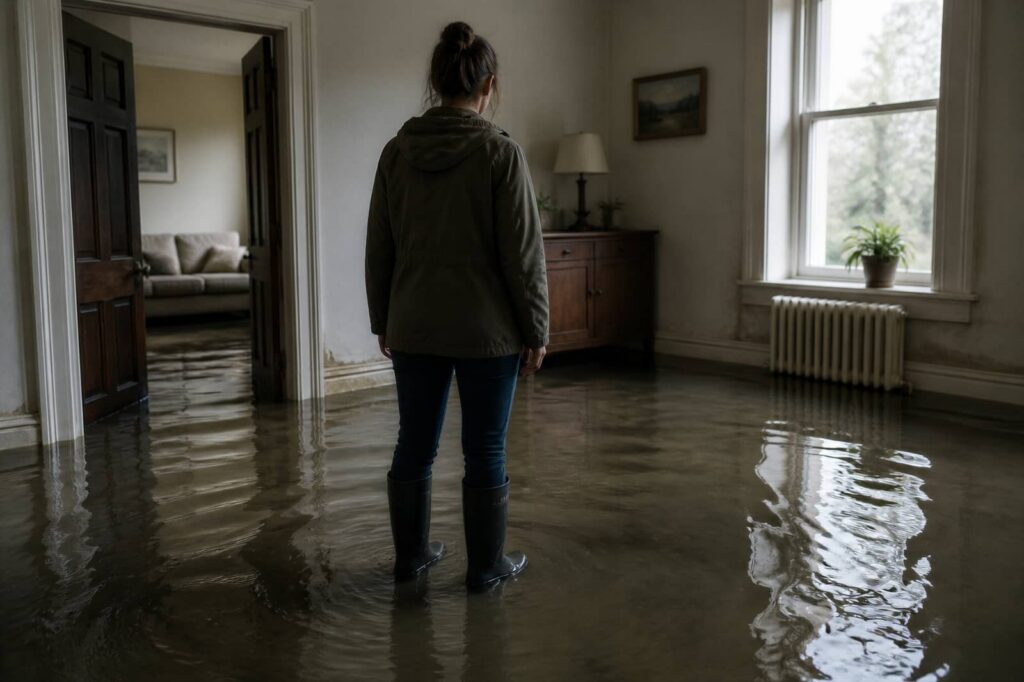
Measure the water depth first so you can choose the right extraction method and avoid pushing moisture deeper into the structure.
Use a pump or wet vacuum to remove standing water fast, working from the lowest point outward to improve efficiency.
Then check hidden areas behind baseboards, under flooring, and inside cavities, and dry them immediately to limit secondary damage.
Assess Water Depth
Before you remove anything else, check how deep the water is and locate the lowest areas of the space. You can treat this as your first safety assessment, because water depth tells you which zones need attention and which may hide hazards.
Use a ruler, marked pole, or tape measure to record depth at several points, especially near walls, doorways, and floor dips. Note any changes in level, because they often reveal trapped water under debris or damaged flooring.
Stay aware of slippery surfaces, but keep your focus on mapping the flooded area with care. When you measure methodically, you help your team work as one, make sound decisions, and avoid unnecessary risk while you prepare for the next cleanup step.
Use Pump Extraction
Once you’ve mapped the water depth, remove standing water with a pump as quickly and safely as you can. Choose pump types that match the volume and debris load: submersible pumps work well for deeper clean water, while utility pumps suit lighter jobs.
Place the intake on the lowest point, secure the discharge hose, and keep the unit stable. Use extraction methods in a logical sequence, starting where water collects most, then moving outward in controlled passes.
Monitor flow so you don’t overload circuits or stir up residue. Wear protective gear, keep cords dry, and stay alert for hidden hazards.
When you work methodically, you protect the space and help your crew move forward together with confidence.
Dry Hidden Areas
After you clear the visible water, you need to dry hidden areas fast so moisture doesn’t remain trapped in wall cavities, under flooring, or inside cabinets.
You should remove baseboards, drill small access holes if needed, and position air movers to drive airflow into enclosed spaces.
Use dehumidifiers to lower ambient humidity and support efficient drying techniques.
Check insulation, subfloor seams, and toe-kick spaces for hidden moisture with a meter, not just by touch.
If materials stay damp after repeated drying cycles, you may need to open them further or replace them.
Keep monitoring readings until they stabilize at safe levels.
Dry Walls, Floors, and Ceilings
Start drying walls, floors, and ceilings as soon as the area is safe and fully cleared of standing water or loose debris.
Use directed air movement, dehumidifiers, and controlled ventilation to apply effective drying techniques across every exposed surface. You should open cavities where needed so wall insulation can release trapped moisture, then monitor moisture levels until readings stabilize.
Remove baseboards only if they prevent airflow, and keep equipment spaced to avoid dead zones.
On floors, lift wet coverings when they trap water; on ceilings, inspect for sagging and dry from the edges inward.
Document progress each day and adjust equipment placement so your team stays coordinated and protected.
Consistent, methodical drying helps your space recover cleanly and supports everyone working there.
Clean Smoke Soot and Residue
You should remove soot with a dry chemical sponge or HEPA vacuum first to limit smearing and airborne particles.
Then clean each surface with the correct method and solution, since painted walls, metal, glass, and porous materials all respond differently.
If residue stays embedded, apply a targeted cleaner and repeat controlled passes until the surface is clear.
Safe Soot Removal
Soot settles fast and leaves behind a fine, acidic residue, so remove it as soon as the area is dry and safe to enter.
Before you begin soot removal, wear gloves, an N95 mask, and eye protection, and keep the space ventilated.
Use a HEPA vacuum with a soft brush attachment to lift loose particles without grinding them in. Work from top to bottom, using light, one-direction strokes, and change cloths often so you don’t spread contamination.
Follow safety precautions, and bag debris immediately in sealed liners. If dust smears, stop and reassess; moisture can bind soot and make cleanup harder.
Stay methodical, move slowly, and you’ll protect both air quality and your team’s confidence.
Surface-Specific Cleaning
Different surfaces need different cleaning methods because smoke residue can dull finishes, stain porous materials, and react with some coatings. You should match each material to a gentle, tested surface treatment before you scrub.
On painted walls, use a soft microfiber cloth and a diluted cleaning agent, then rinse lightly. On sealed wood, wipe with minimal moisture and dry at once to protect the finish. For glass and metal, apply nonabrasive cleaners and polish in straight passes.
On fabric or upholstery, vacuum first, then blot with a fabric-safe solution. For tile, clean grout lines separately with a small brush.
Work in sections, change cloths often, and inspect progress as you go so your space feels restored, safe, and truly yours.
Stubborn Residue Treatment
When residue remains after the initial wipe-down, treat it as a layered contaminant that needs controlled agitation and repeated extraction. You identify residue types first, then match chemical solutions to the surface, testing in a hidden area before wider use.
Apply cleaning techniques with microfiber pads, detail brushes, or low-moisture equipment usage to lift soot without spreading it. If the film persists, switch to stronger restoration products and adjust dwell time, but don’t over-wet porous materials.
For delicate finishes, use surface treatments that stabilize the substrate before another pass. DIY methods can help you stay involved, yet choose them only when you can control environmental impact and avoid cross-contamination.
Work methodically, document each pass, and you’ll move with a team-minded standard that restores confidence.
Deodorize and Sanitize the Home
Once the visible debris is gone, you can begin deodorizing and sanitizing each affected area to remove residual smoke compounds and prevent microbial growth.
Start with air purification: run HEPA filtration and activated carbon units continuously to reduce fine particulates and volatile odors.
Then apply an EPA-registered sanitizer to hard, nonporous surfaces, following the labeled dwell time so it can work effectively.
For odor neutralization, use targeted treatments on fabrics, upholstery, and HVAC returns that contact smoke-laden air.
Keep the space ventilated during treatment, and replace contaminated filters as needed.
You’re not just cleaning—you’re restoring a safer, more comfortable home for everyone inside.
Repeat testing after each pass, and continue until smell and surface contamination both drop to acceptable levels.
Repair Damaged Materials and Surfaces
After deodorizing and sanitizing, inspect the structure for materials that can’t be cleaned back to serviceable condition. You’ll remove swollen drywall, delaminated trim, warped flooring, and heat-damaged insulation, then document each component before replacement.
Match new materials to existing dimensions so repairs blend cleanly with the room you call home. For salvageable surfaces, sand, patch, and seal with a compatible surface treatment to restore adhesion and finish integrity.
When wood or metal needs material restoration, clean, dry, fill, and prime it in the correct sequence. Verify fasteners, joints, and load paths before you close walls or reinstall coverings.
Work methodically, because precise repair keeps your space safe, cohesive, and ready for the next stage.
Prevent Mold After Water Damage
Because smoke cleanup often involves large amounts of water, you need to control moisture fast to prevent mold growth. Remove standing water with pumps or wet vacuums, then dry walls, floors, and hidden cavities with dehumidifiers and air movers.
Check every affected room, because damp insulation, trim, and subfloors can trap moisture and invite spores. Use moisture meters to verify that materials return to safe levels before you rebuild.
Apply mold prevention strategies by cleaning surfaces with approved antimicrobial products and discarding porous items that stay wet. Keep humidity control techniques in place for several days, and maintain indoor humidity below 60%.
Work methodically, document your readings, and stay connected with your cleanup team so you all finish with a safe, dry space.
Frequently Asked Questions
How Long Should I Keep Insurance Records After Cleanup?
Keep insurance records at least seven years after cleanup; longer if claims stay open. Use insurance retention rules and document organization to track policies, photos, estimates, and receipts, so you’ll protect yourself and stay informed.
Can Electronics Be Saved After Smoke and Water Exposure?
Yes, you can sometimes save electronics after smoke and water exposure if you act swiftly. You’ll need careful cleaning, drying, and restoration techniques to limit electronic damage. You’re not alone; technicians can often recover devices.
When Is It Safe to Re-Enter the Home?
You can re-enter only after officials clear hazards, utility crews secure gas and electricity, and you’ve checked re entry signs. Follow safety precautions, wear protection, and confirm structural stability before going back inside.
Do I Need a Professional for HVAC Duct Cleaning?
Yes—unless your ducts enjoy being filthy, you’ll usually want a professional. You’ll gain HVAC benefits through proper duct maintenance, precise debris removal, and airflow testing, helping your home feel cleaner, safer, and more connected.
Which Items Should Be Thrown Away Immediately?
You should throw away damaged furniture, contaminated textiles, and any porous items that smell persistently, show mold, or can’t be fully sanitized. You’ll protect your space, reduce risks, and keep your environment safe.
Recap
By following these seven steps, you can restore your home methodically after smoke and water damage. You assess the damage, remove standing water, dry structural materials, clean soot, deodorize, repair surfaces, and prevent mold. Each action works like a cog in a machine, helping you reclaim a safe, healthy space. Stay precise, monitor moisture closely, and don’t skip any phase. With disciplined cleanup, you’ll protect your property and speed a complete, effective recovery.