
Many water-damage claims start with a small leak, and you can’t always see the worst of it. If you leave a flooded house leak alone, moisture can spread into framing, insulation, and ceilings, turning a simple repair into a mold and structural problem. You need to act fast, but the real question is which damage matters most first.
Key Takeaways
- Repairing a flooded house leak stops further water damage to framing, flooring, insulation, and ceilings.
- Quick repairs reduce mold growth, which can begin within 24 to 48 hours after moisture lingers.
- Fixing leaks protects indoor air quality and helps prevent musty odors and health issues.
- Early repair preserves structural integrity and avoids more costly hidden damage behind walls or under floors.
- Timely leak repair restores safety, limits disruption, and helps maintain property value.
What Causes a Flooded House Leak?
A flooded house leak usually starts when water enters through a failed roof, burst pipe, broken appliance hose, clogged drain, or cracked foundation and then spreads faster than the home’s drainage can handle.
You’ll often see it after weather events like heavy rain, ice dams, or wind-driven storms that overwhelm weak spots.
Plumbing issues can also trigger hidden leaks behind walls, under floors, or inside cabinets, where pressure and corrosion build over time.
If you’re part of a household with aging fixtures, check supply lines, seals, and shutoff valves regularly.
Even small gaps around windows, vents, and crawl spaces can let water in and raise damage risk.
Knowing these causes helps you protect your place and respond with confidence.
What to Do First After a Leak
If the leak is active, shut off the water supply immediately and cut power to any affected area if water is near outlets, appliances, or wiring.
Then start your emergency response: move people and pets away, and keep clear of wet floors until you’ve checked for hazards.
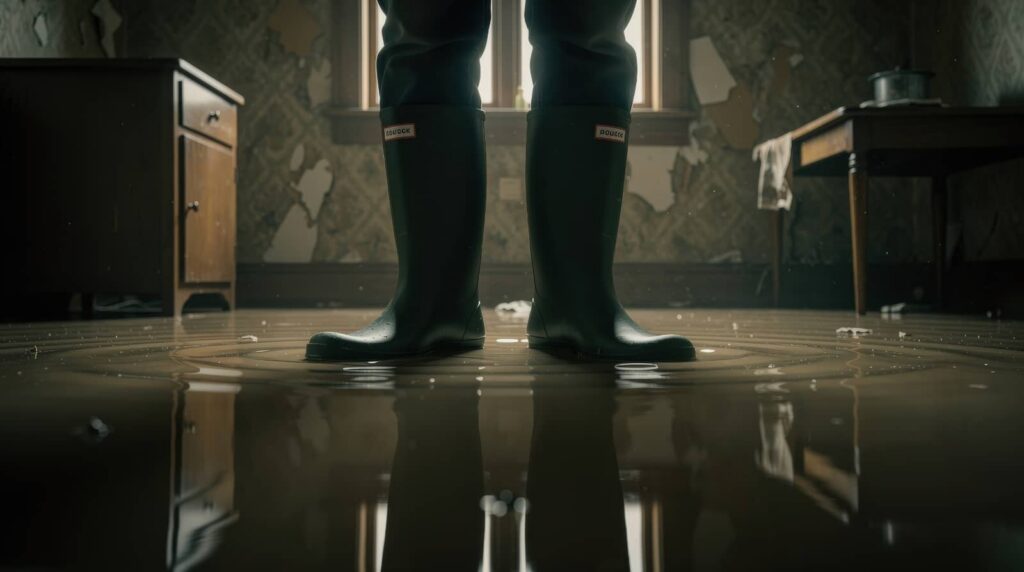
Put on rubber boots and gloves, and use safety precautions before you enter the area.
Take quick photos for your claim, then remove small valuables, documents, and electronics from the wet zone.
Place buckets or towels under dripping points if you can do so safely.
Call a licensed plumber and your insurer right away so you can coordinate next steps.
Stay calm, act fast, and work with your household as a team to limit damage and prepare for repairs.
Signs Your Ceiling Leak Is Spreading
How can you tell a ceiling leak is getting worse? You can spot clear leak indicators before the damage becomes obvious. Check for these signs with simple moisture detection tools and your eyes:
A stain grows wider or darker after each rain.
Paint blisters, peels, or sags near the leak.
Drywall feels soft, crumbly, or slightly bowed.
New drips, damp rings, or a musty odor appear below.
If you notice any of these changes, you’re not alone; many homeowners see the same pattern. Mark the area, inspect it daily, and compare readings if you use a meter.
Small shifts matter, because they show the leak isn’t stable. Act early, document what you see, and keep your repair plan focused and calm.
How Water Damage Gets Worse
When you leave water in place, it can seep into framing, subfloors, and insulation, causing hidden structural damage that isn’t obvious at first.
As moisture stays trapped, it creates the conditions for mold growth, which can spread quickly behind walls and under flooring.
You need to dry the area fast and inspect beyond the visible surface, or the damage can get much worse.
Hidden Structural Damage
Even after you mop up visible water, moisture can keep migrating into framing, subflooring, insulation, and drywall, where it weakens materials from the inside out.
You can’t judge damage by appearance alone; hidden saturation can compromise structural integrity and spread through connected assemblies. Use moisture detection tools to find damp zones before they shift, swell, or delaminate.
- Check baseboards, plate lines, and floor joints.
- Probe soft drywall and spongy subflooring.
- Inspect fasteners, seams, and load-bearing members.
- Confirm readings drop before you rebuild.
When you act fast, you protect your home and your crew from avoidable repairs.
A careful inspection helps you stay confident, connected, and ready to restore the space the right way.
Mold Growth Risks
Once moisture lingers in walls, floors, or insulation, mold can start growing within 24 to 48 hours and make the damage harder to reverse. You need fast drying, good airflow, and immediate removal of wet materials to limit spread.
If you wait, spores can move through your home, stain finishes, weaken indoor air quality, and create health risks for you and your family.
Focus on mold prevention by fixing the leak, running dehumidifiers, and checking hidden cavities with a moisture meter.
Clean hard surfaces with approved products, but replace porous items that stay damp.
When you act quickly, you protect your space, reduce repair costs, and keep your home safer for everyone who lives there.
How to Repair a Flooded House Leak
Start by identifying the exact leak source so you can stop the water at its origin and prevent further damage.
Then shut off the water supply, seal or replace the failed component, and verify that the leak has stopped.
After that, dry the affected areas quickly with fans, dehumidifiers, and proper ventilation to limit mold growth and material deterioration.
Identify Leak Source
Before you can fix a flooded house leak, you need to pinpoint where the water is coming from by checking plumbing lines, roof penetrations, windows, appliances, and visible cracks in walls or foundations.
Use leak detection methods to trace fresh moisture, stains, drips, and pressure loss, then confirm the path before you choose repair techniques. Work methodically:
- Inspect supply and drain lines for loose joints or corrosion.
- Check roof flashing, vent boots, and skylights for failed seals.
- Test windows, doors, and exterior trim for gaps.
- Examine appliance hookups, slabs, and basement walls for seepage.
You’re not alone here; careful identification helps your crew target the fix fast and avoid repeat flooding.
Capture photos and notes so everyone stays aligned on the source.
Dry Affected Areas
After you stop the leak, dry the affected areas fast to limit mold, rot, and structural damage.
Remove standing water with pumps, wet vacs, or mops, then open windows and run fans to move air across walls, floors, and framing.
Use dehumidifiers to pull moisture from the space and keep indoor humidity low.
Strip out soaked carpets, pads, insulation, and baseboards when they can’t dry quickly.
Check hidden cavities, beneath cabinets, and inside wall voids with a moisture assessment tool so you know what still needs attention.
Apply proven drying techniques until materials return to safe levels.
Stay organized, label removed items, and work with your crew or family so everyone knows the next step.
When to Call a Water Damage Pro
If the leak has soaked walls, subfloors, insulation, or electrical systems, call a water damage pro right away. You need help when hidden moisture spreads beyond what you can dry safely. A certified team can assess the loss, start water extraction, and support insurance claims.
Don’t wait if you notice:
- Swollen drywall or buckled flooring
- A musty odor that won’t fade
- Contaminated water near outlets
- Damage that keeps returning after cleanup
You’ll protect your home and stay with a crew that knows the process. Pros use meters, air movers, and containment to limit further damage.
If you’re unsure, trust the scale of the leak, not guesswork. Fast action helps you stay in control and move forward with confidence.
How Drying the Structure Prevents Mold
Drying the structure quickly stops mold by removing the moisture it needs to grow. You protect your home’s framing, subfloors, and insulation when you use proven drying techniques right away.
Run air movers to boost airflow, set dehumidifiers to pull water from the air, and keep humidity low until materials reach safe levels.
Check hidden cavities, because trapped dampness can keep mold active after surfaces feel dry. This approach supports mold prevention by cutting off the conditions spores need to spread.
You’ll also help your household stay healthier and more comfortable, since dry materials resist musty odors and microbial growth.
Keep monitoring with a moisture meter, and don’t stop until readings stay stable. Quick, disciplined drying gives you the best chance to recover cleanly.
How to Fix Ceiling Damage After a Leak
Start by tracing the leak source and confirming the ceiling is fully dry before you repair anything.
Then you can handle ceiling repair with confidence, and your space will feel cared for again. Scrape away loose paint, sagging texture, and damaged drywall paper.
- Cut back soft material to firm edges.
- Seal any exposed paper with primer.
- Patch holes with mesh tape and joint compound.
- Sand smooth, then match texture and paint.
If you still see water stains, apply a stain-blocking primer before finishing.
Use thin coats, let each layer dry, and check for cracks under strong light. Your ceiling should look solid, clean, and ready to rejoin the room.
How to Prevent Future Flooded House Leaks
Once the ceiling is repaired, focus on stopping the next leak before it starts. You should inspect roofs, flashing, pipes, and windows every season, then seal gaps with waterproof materials rated for your climate.
Keep gutter maintenance on a schedule: clear debris, check downspouts, and direct runoff away from the foundation.
Inside, watch for damp spots, musty odors, and slow drains, because those early signs let you act before water spreads. Replace worn hoses, valves, and caulk as soon as you spot damage.
If you live with neighbors in a shared building, compare notes and report leaks quickly so everyone stays protected.
A routine checklist helps you stay ready, reduces repair costs, and keeps your home safe, dry, and part of a resilient community.
Frequently Asked Questions
How Much Does Flood Leak Repair Usually Cost?
You’ll usually pay $500–$3,000 for flood leak repair, depending on cost factors like damage extent, materials, and labor. Get repair estimates from licensed pros so you can compare options and protect your home together.
Does Homeowner’s Insurance Cover Flooded House Leaks?
Usually not: homeowner’s insurance often excludes flood damage, while leak coverage may apply to sudden plumbing failures. You’ll need flood insurance for rising water, and you’ll feel relieved when your policy matches the source.
How Long Does Flood Damage Repair Typically Take?
You’ll usually need one to six weeks, depending on the flood damage timeline and repair process. You’ll dry, remove damaged materials, sanitize, then rebuild. Quick action helps you protect your home and join recovery faster.
Can I Stay in My House During Leak Repairs?
You can stay, but only if leak repairs don’t threaten your safety. Take safety precautions, isolate affected areas, and arrange temporary accommodations if mold, wiring, or structural damage could expose you or your family.
What Tools Are Needed for Small Leak Cleanup?
You’ll need a wet/dry vac for water extraction, moisture meter for leak detection, fans and dehumidifiers for drying techniques, gloves and masks for safety precautions, plus bleach, sealant, and patch kits for mold prevention and repair materials.
Summary
You should repair a flooded house leak quickly because water keeps spreading, weakens framing, and raises mold risk. If you leave a wet ceiling after a roof leak, for example, insulation can stay damp and hidden rot can begin within days. Dry the structure, fix the source, and replace damaged materials right away. That approach helps you protect indoor air quality, avoid costly repairs, and keep your home safe, stable, and valuable.