
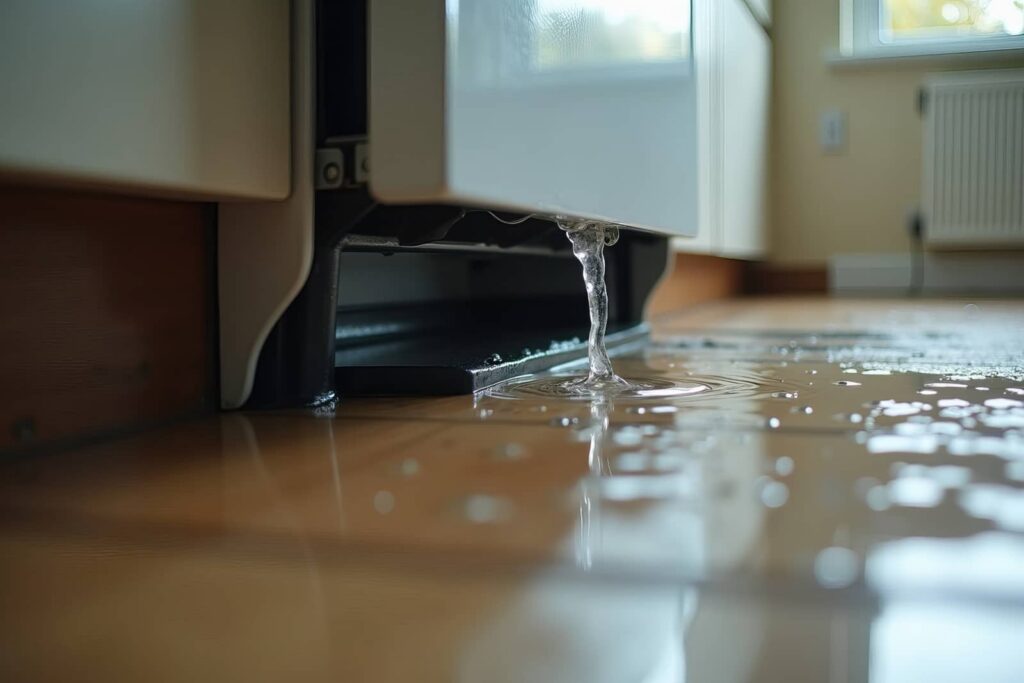
When you spot leak damage, you need to act fast to limit the spread. Shut off the nearest water supply, isolate the affected area, and move anything that can absorb moisture. Then dry the space with fans and a dehumidifier until surfaces feel uniformly dry. Those first steps can reduce the chance of mold and bigger repairs, but ceiling stains, sagging, and cracks may still need a closer look.
Key Takeaways
- Shut off the water source immediately to stop further leak damage.
- Contain the area by moving items and protecting nearby surfaces.
- Dry the affected space with fans and a dehumidifier.
- Inspect for soft, stained, or sagging ceiling materials.
- Replace damaged drywall and use stain-blocking primer before repainting.
Stop the Leak and Contain the Damage
The first step is to stop the water at its source, then isolate the affected area so the damage doesn’t spread. You should shut off the nearest valve or main supply, then confirm flow has stopped.
Use leak detection to trace the entry point, checking joints, fittings, and visible piping for drips, stains, or pressure loss. If you can’t access the source safely, call for emergency repairs right away.
Move nearby items out of the zone and place a barrier to protect clean surfaces. You’re not handling this alone; quick action keeps your space safer and helps your team recover faster.
Document the leak location and condition, then keep monitoring until the issue stays stable.
Dry Ceiling Water Damage Safely
Once you’ve stopped the leak and contained the area, start drying the ceiling carefully to limit further deterioration.
Use cool air, not heat, so you don’t trap steam in the material. Set fans to move air across the surface, and run a dehumidifier for steady moisture control.
Keep the room closed if outside humidity is high, but open nearby doors to improve circulation. Check the area often so you can spot new dampness early.
For mold prevention, don’t leave insulation or ceiling material wet.
- Place fans safely below the wet section.
- Empty the dehumidifier as needed.
- Measure humidity until it drops.
- Stop drying once the surface feels uniformly dry.
You’re protecting your space and helping everyone stay ahead of hidden damage.
Repair Ceiling Stains, Sagging, and Cracks
After the area is fully dry, inspect the ceiling for staining, soft spots, sagging drywall, and hairline cracks before you repair anything.
If the drywall feels weak, cut out damaged sections and replace them with new board, then tape and mud the seams.
For light stains, apply a stain-blocking primer before repainting; that helps with stain removal and keeps bleed-through from returning.
If the ceiling sags, add fasteners into joists or use drywall screws to pull the board tight, then skim the area smooth.
For small cracks, widen them slightly, fill with joint compound, and sand after it cures.
With careful ceiling repair, you can restore a clean, solid finish and keep your space looking like it belongs to you.
Frequently Asked Questions
How Can I Tell if the Leak Damaged Insulation Inside the Ceiling?
You can tell by spotting leak symptoms like stains, sagging, odors, and damp drywall. Check insulation types through an access point; wet fiberglass clumps, while cellulose mats. If you’re unsure, you’ll need a pro.
Should I Call My Insurance Company Before Starting Any Repairs?
Yes, you should call your insurance company first, so you can confirm insurance coverage and document damage before repairs. Gather repair estimates, photos, and dates; you’ll protect your claim and avoid costly surprises.
What Tools Do I Need for Inspecting Hidden Water Damage?
You’ll need a moisture meter and thermal camera to spot hidden water damage. Add a flashlight, inspection mirror, screwdriver, and gloves. You can check walls, ceilings, and flooring quickly, safely, and confidently.
How Do I Find the Original Source of a Recurring Leak?
Trace the leak’s origin first: nearly 60% of recurring leaks start above the visible stain. You’ll use leak detection and moisture mapping, then check pipes, joints, roofing, and fixtures until you isolate the source.
When Is Professional Mold Testing Necessary After a Leak?
You need professional mold testing if the leak lasted over 24–48 hours, you smell musty odors, see visible mold growth, or notice health risks like coughing. Testing confirms contamination and helps you act with confidence.
Wrap-Up
You’ve stopped the flood at the door and kept the room from becoming a swamp. Now let the air do its work: fans push, dehumidifiers pull, and hidden moisture slips away. When the ceiling is dry, you can mend the stains, brace the sag, and seal the cracks. Treat the leak like a breach in a fortress—close the gate fast, dry the keep fully, and repair it before damage turns into decay.