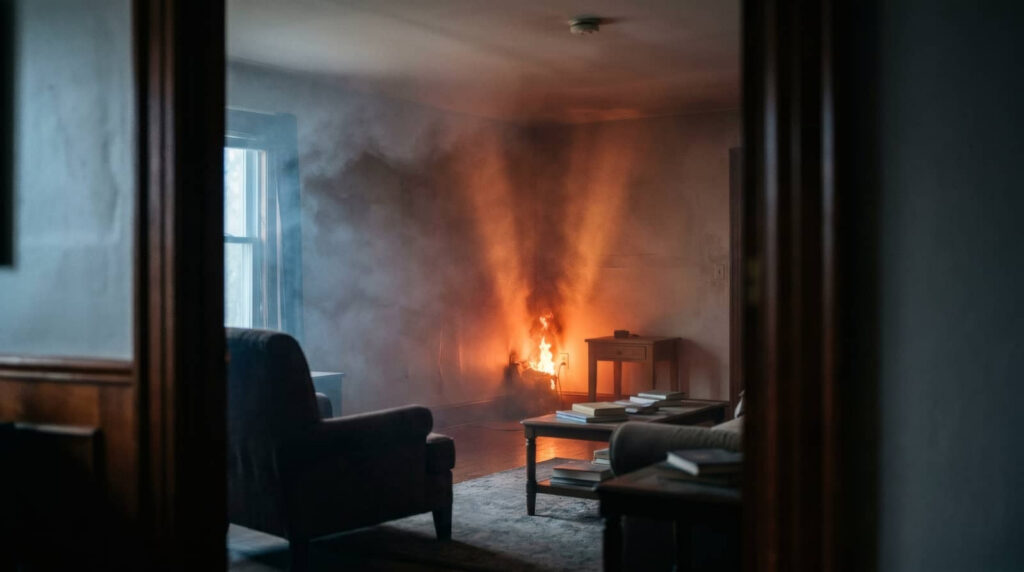
After a fire, you can still find a soaked floor long after the flames are out, with water damage creating a second layer of problems. Drying After Fire Damage should begin with quickly assessing both fire and water impacts, then starting structural drying before moisture settles into walls and framing. Remove standing water, run air movers and dehumidifiers, and check hidden cavities so dampness doesn’t remain where mold can start. The next steps matter more than you might think.
Key Takeaways
- Inspect all affected rooms for hidden moisture, smoke damage, and soft spots before starting cleanup.
- Remove wet contents, standing water, and charred debris quickly to reduce further damage and improve airflow.
- Start structural drying immediately using air movers and dehumidifiers positioned for steady, unobstructed airflow.
- Open wall cavities and check under flooring to dry trapped water and prevent mold growth.
- Monitor moisture daily with meters, adjust equipment as needed, and document progress for restoration and insurance.
Inspect Fire and Water Damage
Start by inspecting the fire-damaged area for both visible charring and hidden water intrusion, because extinguishing efforts often cause as much damage as the flames themselves.
You’ll want to document every room with photos, notes, and dates for your fire damage assessment, so you’ve got a clear record for insurance claims.
Check walls, ceilings, insulation, flooring, and contents for soot staining, swelling, corrosion, or soft spots. If you smell smoke or notice dampness behind surfaces, mark those areas for follow-up.
You don’t need to guess what’s salvageable; a careful inspection helps you and your restoration team make smart, safe choices together.
Stay methodical, and keep your findings organized so the next steps feel less overwhelming and more manageable for everyone involved.
Start Structural Drying Immediately
Move quickly to begin structural drying, because the longer moisture remains in framing, subflooring, drywall, and insulation, the greater the risk of swelling, corrosion, and mold growth.
You should treat this as part of your emergency response, not a delayable task. Open wall cavities when needed, then set up air movers and dehumidifiers to pull moisture from hidden materials and protect structural integrity.
Monitor temperature, relative humidity, and moisture content so you can verify progress instead of guessing. If you act fast, you’ll join the group of property owners who limit secondary damage and keep repairs manageable.
Document readings each day, adjust equipment as conditions change, and keep drying consistent until materials reach acceptable levels.
Remove Standing Water and Debris
You should clear any standing water as soon as possible to reduce moisture absorption and slow secondary damage.
Then remove charred debris and other loose material so drying equipment can reach affected surfaces more effectively.
This step helps you stabilize the area and prepare it for the next phase of restoration.
Clear Flooded Areas
Before you can dry a fire-damaged space, clear out any standing water and debris so moisture doesn’t keep spreading through floors, walls, and hidden cavities.
You should treat this as part of your flood management plan, because every minute of delay raises the risk of hidden saturation. Use pumps, wet vacs, and absorbent pads to pull water from low spots, then move loose material into sealed bags so it won’t wick moisture back into the structure.
Keep pathways open for airflow and monitoring, and check corners, baseboards, and subfloors for lingering puddles. This step supports moisture control and helps your team work together efficiently.
When you act quickly and methodically, you protect the space, reduce secondary damage, and get closer to safe, effective drying.
Remove Charred Debris
Start by removing charred debris and any remaining standing water so the space can begin drying without carrying heat, soot, and moisture into unaffected areas.
You’ll want to work methodically, wearing protective gear and sorting salvageable items from charred material. Proper debris removal helps air move freely and reduces hidden damp spots that can slow restoration.
- Bag loose ash and ruined contents.
- Lift warped drywall, insulation, and flooring.
- Mop or extract puddles from corners and seams.
- Stack clean, dry materials away from the work zone.
As you clear each section, you’re making the site safer for your crew and neighbors.
Keep pathways open, monitor moisture, and remove waste promptly so drying equipment can do its job.
Run Air Movers and Dehumidifiers
Position air movers to keep warm, dry air circulating across all affected surfaces, then run dehumidifiers to pull moisture out of the room and prevent secondary damage.
You’ll want steady coverage, so angle each unit to sweep across damp floors, trim, and contents without creating dead zones. Check air mover efficiency by removing obstructions and keeping cords clear.
For dehumidifier placement, set the unit in the driest path of airflow, leave space around intake and exhaust, and empty the collection tank or drain line as needed.
Monitor temperature and humidity with a meter, then adjust settings to keep conditions stable.
You’re not tackling this alone; consistent equipment use helps your space dry faster and supports a safer recovery.
Dry Walls, Ceilings, and Framing
As the air movers and dehumidifiers keep pulling moisture from the space, shift your focus to the walls, ceilings, and framing because hidden dampness there can slow recovery and lead to further damage.
You’ll help your team stay on track by checking surfaces for cool spots, soft areas, and lingering odors. Use a moisture meter to confirm drying progress, then keep airflow aimed across broad surfaces.
- Remove damp insulation, trim, or finishes that trap moisture.
- Wipe framing members so soot and residue don’t hold water.
- Open drywall seams slightly for faster evaporation when needed.
- Apply the right wall treatment only after readings stay stable.
This process reduces moisture retention and helps your space feel safe, dry, and ready for the next step.
Check for Hidden Moisture in Cavities
Even when wall surfaces feel dry, moisture can remain trapped inside cavities, so you’ll need to verify hidden areas before closing them up.
Use a moisture meter, thermal camera, or small inspection opening to check stud bays, ceiling voids, and floor cavities. During cavity inspection, compare readings at several points and watch for colder spots, damp insulation, or warped materials that signal hidden moisture.
If you find wet framing or saturated insulation, keep air moving and continue drying until readings stabilize. You’re not alone in this step; careful checks now help your whole recovery stay on track.
Confirm every cavity is dry before you reinstall finishes, so you avoid setbacks and protect the work you’ve already done.
Prevent Mold While Cleaning Up Fire Damage
To prevent mold during fire cleanup, you need to remove moisture fast, especially from porous materials and hidden cavities.
Use safe drying methods like controlled air movement, dehumidification, and prompt material removal when items can’t dry within a day or two.
You’ll lower mold risk when you keep surfaces dry, monitor humidity, and stop re-wetting during restoration.
Rapid Moisture Removal
Start drying the fire-damaged area immediately to keep moisture from turning into mold, odors, and additional material loss. You can speed recovery by targeting hidden dampness first, so your team stays ahead together.
- Remove standing water fast to limit moisture absorption in drywall, trim, and flooring.
- Open damaged contents and separate wet items so air reaches every surface.
- Use drying techniques that move humid air out and pull drier air in.
- Check cavities, corners, and seams daily so you catch trapped moisture early.
Act now, because each hour of delay raises the risk of warping and microbial growth. You don’t need perfect conditions to make progress; you just need consistent removal, steady monitoring, and a clear plan.
Safe Drying Methods
As you dry fire-damaged materials, use methods that lower moisture without spreading soot, odors, or mold risk. Set up containment, then move clean air with fans and dehumidifiers so surfaces dry evenly.
Keep windows closed if outdoor humidity is high, and avoid stirring ash from affected rooms. Use natural drying only for items that can breathe and won’t trap moisture; otherwise, rely on drying equipment that controls airflow and humidity.
Check hidden spaces, like wall cavities and under flooring, because trapped water can fuel mold fast. Remove wet contents promptly, separate salvageable materials, and monitor moisture daily with a meter.
You’re not handling this alone; steady, careful drying helps protect your space and supports a safer recovery.
Frequently Asked Questions
How Soon Should Electronics Be Evaluated After Fire and Water Exposure?
You should evaluate electronics immediately, ideally within 24 hours, after fire and water exposure. You’ll protect electronic safety, speed the restoration timeline, and support your team with expert inspection before powering anything on.
Can Smoke Odors Linger After All Visible Moisture Is Removed?
Yes—like shadows clinging after sunset, smoke odors can linger after visible moisture is gone. You’ll need smoke removal and odor detection, because residues hide in materials. Act quickly, and you’ll restore a cleaner, safer space.
Should Contaminated Insulation Always Be Replaced During Cleanup?
No, you don’t always need to replace it; you should assess contamination levels and insulation types first. You can salvage lightly affected insulation, but you’ll protect your home and community by replacing heavily contaminated material.
Are Personal Belongings Salvageable After Extensive Fire-Related Drying?
Sometimes, yes—you can salvage many personal belongings after extensive fire-related drying. Many affected items can often be restored. With fire damage restoration, you’ll assess personal item recovery, prioritize cleaning, and protect what matters most.
When Is Professional Testing Needed for Hidden Soot Contamination?
You’ll need professional testing when you notice lingering odors, staining, or respiratory irritation, or if surfaces look clean but you suspect hidden damage. Reliable soot detection confirms contamination and guides safe cleanup, so you’re not alone.
Recap
You’ve seen the soot and soaked surfaces, so keep moving with purpose. Pull moisture out fast, like wringing water from a sponge, and let air movers and dehumidifiers work nonstop. Check walls, cavities, and framing for hidden dampness so no wet pocket stays behind. Monitor humidity and document each step as you go. With steady, technical drying, you’ll help the structure breathe again and keep mold from taking root after fire damage.