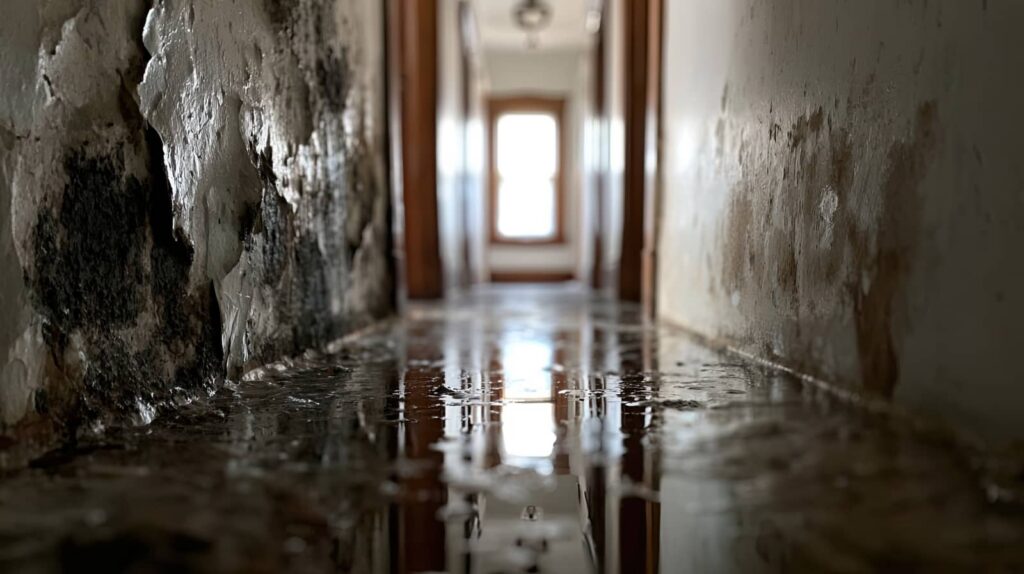
The Best Water Damage Repair starts with fast action, but it doesn’t end there. You need to stop the source, remove moisture, and dry affected materials before hidden damage spreads. Then you have to check for mold, weakened structures, and damaged wiring so the repairs hold up over time. The right team will assess the full scope of the damage and create a plan that protects your property, because the next steps matter more than you might expect.
Key Takeaways
- The best water damage repair starts with a fast assessment to find the moisture source and plan safe, targeted repairs.
- Stop the damage immediately by shutting off the water supply and checking fixtures, ceilings, walls, and pipes for leaks.
- Remove standing water quickly with professional extraction equipment, then dry carpets, subfloors, and hidden areas thoroughly.
- Prevent mold and structural problems by inspecting within 24 to 48 hours, controlling humidity, and repairing damaged materials properly.
- Choose a certified, insured restoration team with strong communication, emergency response, and documented moisture testing results.
What Makes a Good Water Damage Repair?
A good water damage repair starts with a fast, thorough assessment so you can identify the source of the moisture, stop further intrusion, and determine the full extent of affected materials.
You deserve a repair plan that’s precise, safe, and tailored to your space. A strong team documents damage, tests hidden areas, and explains which materials can be restored and which need replacement.
You’ll also want clear communication about drying goals, sanitation, and structural verification. Quality work includes preventative measures that reduce future risk, plus guidance on insurance coverage so you can navigate claims with confidence.
When every step is measured and transparent, you’re not just fixing damage—you’re restoring comfort, protecting your property, and making sure you feel supported throughout the process.
Stop Water Damage Before It Spreads
To stop water damage from spreading, you need to find the source right away and shut it down if you can.
Then you should dry the affected areas quickly to reduce moisture migration and limit secondary damage.
Fast action here helps protect materials, slow mold growth, and keep repairs more manageable.
Find The Source
Where’s the water coming from? You need to find it fast, because every minute matters. Start with leak detection around fixtures, ceilings, and walls, then move to pipe inspection under sinks, behind appliances, and along visible lines.
If you belong to a home or business team, you can work methodically and avoid guesswork.
- Shut off the nearest water supply.
- Trace stains to the highest visible point.
- Check for dripping, pooling, or new sounds.
Use a flashlight and note any wet joints, cracked seals, or loose fittings. If the source isn’t obvious, don’t force access; call a qualified technician who can isolate the issue safely.
When you identify the origin quickly, you protect the structure and keep the damage from spreading further.
Dry Affected Areas
Once you’ve found the source, dry the affected areas immediately to stop water from spreading into nearby materials.
You’ll want to remove standing water, then open cabinets, move furniture, and lift rugs so hidden moisture can escape.
Set fans to create strong air circulation across walls, floors, and baseboards, and adjust dehumidifier placement so humid air gets pulled from the wettest zones first.
If you can, run both systems continuously until surfaces feel dry and indoor humidity drops.
Check padding, drywall, and trim for lingering dampness, because trapped moisture can fuel secondary damage.
Start Water Cleanup Quickly
Move fast and start water cleanup as soon as it’s safe to enter the area. You protect your property when you act immediately, because water spreads quickly and weakens materials. A prompt emergency response keeps damage from compounding and helps you regain control with confidence.
Use professional water extraction equipment or call a trusted team that can arrive quickly and work efficiently.
- Prioritize safety and clear access.
- Document visible damage for your records.
- Begin extraction before materials absorb more moisture.
When you join forces with skilled responders, you’re not handling this alone. Fast cleanup supports a smoother restoration process and gives your home the best chance for recovery.
Every minute counts, so start now and move forward with steady, informed action.
Remove Standing Water and Moisture
After you’ve started cleanup, the next step is to remove all standing water and reduce remaining moisture before it can seep deeper into floors, walls, and contents.
You should use water extraction equipment to pull water from carpets, subfloors, and low spots as quickly as possible. Then wipe hard surfaces, lift wet items, and empty trapped water from containers, drawers, and cavities.
Keep your focus on moisture control so hidden dampness doesn’t fuel secondary damage or odors. Check for saturation around baseboards, under furniture, and inside cabinets, and keep extracting until readings stabilize.
When you act methodically, you protect your space and help everyone in it feel confident that recovery is underway.
Dry Water-Damaged Walls, Ceilings, and Floors
You should assess moisture levels in walls, ceilings, and floors with a reliable meter to confirm which materials still need drying.
Then you can speed up the process with targeted airflow, dehumidification, and controlled ventilation to reduce hidden moisture.
This approach helps you protect structural materials and limit the risk of mold growth.
Assess Moisture Levels
Before you begin repairs, verify that the affected walls, ceilings, and floors are completely dry by checking moisture levels with a meter and inspecting hidden areas for lingering dampness.
You’ll use moisture detection to confirm that your materials are safe to restore, and moisture mapping helps you spot uneven readings across the space. This step protects your repair plan and keeps you aligned with others who value thorough work.
- Test at several points on each surface.
- Compare readings against unaffected areas.
- Recheck seams, corners, and behind trim.
If readings stay elevated, you don’t need to rush—your home simply needs more verification before finishing.
When the numbers stabilize, you can move forward with confidence, knowing the structure is ready for the next stage.
Speed Up Drying
Once you’ve confirmed moisture levels, focus on drying the damaged areas as quickly and safely as possible to limit further deterioration and reduce the risk of mold.
You should remove wet materials, open cavities when needed, and protect intact finishes. Increase air circulation with box fans, moving air across walls, ceilings, and floors rather than directly at one spot.
Pair this with dehumidifier usage to pull moisture from the air and accelerate evaporation. Keep doors open between affected rooms if conditions are safe, and maintain steady indoor temperatures.
Check progress daily with a moisture meter, and keep drying until readings return to normal. By staying organized and consistent, you’ll support a faster, cleaner recovery and feel confident each step’s moving you closer to a safe, restored space.
Check for Hidden Mold After Water Damage
Even after visible water is removed, hidden mold can begin growing within 24 to 48 hours in damp materials, wall cavities, and other concealed areas.
You should inspect closets, baseboards, behind cabinets, and under flooring with a flashlight and your nose. Musty odors, spotting, and recurring dampness often signal a problem.
Use mold prevention strategies like keeping humidity below 50% and improving ventilation to protect your home and your community.
If you suspect growth, don’t disturb it; isolate the area and call a qualified professional. Hidden mold can lower indoor air quality, so act quickly to reduce exposure and restore confidence.
- Check concealed spaces carefully
- Track moisture readings daily
- Clean only after verification
Repair Sagging Ceilings and Structural Damage
If a ceiling has started to sag, you need to treat it as a structural warning, not just a cosmetic issue.
You should stop using the area and call a qualified professional to assess load-bearing members, moisture levels, and damaged ceiling materials.
After drying and stabilization, your repair techniques may include removing weakened sections, sistering framing, and replacing compromised panels or plaster with matched materials.
You’ll want to verify that the source of water is fully resolved before any rebuild begins.
This approach helps prevent repeat damage and keeps your home safer for everyone in it.
When you act quickly and follow proven repair techniques, you protect the structure, restore confidence, and get your space back on solid ground.
Fix Wiring, Insulation, and Interior Finishes
After the structure has dried and been stabilized, inspect the wiring, insulation, and interior finishes for hidden water damage.
You’ll want a thorough wiring inspection to catch corrosion, frayed conductors, or damaged outlets before you restore power. If insulation feels damp, compressed, or moldy, schedule insulation replacement so your walls can perform safely and efficiently again.
- Test switches, receptacles, and junction boxes for moisture exposure.
- Remove compromised drywall, trim, or flooring to prevent trapped damage.
- Refinish surfaces only after repairs are complete and materials are fully dry.
Choose the Right Water Damage Repair Team
A skilled restoration crew can make all the difference when water damage reaches beyond surface cleanup. You should choose a team that documents moisture readings, follows industry drying standards, and explains each step clearly.
Check team qualifications, including certification, insurance, and experience with structural repairs, so you know your property’s in capable hands. Ask whether they offer emergency response, containment, and antimicrobial treatment when needed.
Customer testimonials can reveal how well they communicate, stay on schedule, and protect your space during repairs. When you work with professionals who treat your home like part of their own community, you’ll feel supported, informed, and confident throughout recovery.
The right crew won’t just restore materials; they’ll restore your sense of security too.
Frequently Asked Questions
How Much Does Water Damage Repair Usually Cost?
You’ll usually pay $1,200 to $5,000 for water damage repair, depending on severity. You can lower costs with water damage prevention and smart repair techniques. You’re not alone; quick action protects your home.
Does Homeowners Insurance Cover Water Damage Cleanup?
Yes, your homeowners insurance often covers sudden water damage cleanup, but not neglect. Like a storm cloud splitting, coverage depends on your insurance policy and water damage types, so you’ll need to review exclusions carefully.
How Long Does Water Damage Repair Typically Take?
You’ll usually need 2–7 days for minor water damage repair, while major losses can take weeks. Crews handle water extraction quickly, then dry, sanitize, and focus on mold prevention, keeping you informed throughout.
Can I Stay in My House During Repairs?
Sometimes, yes, but you shouldn’t if safety concerns exist. You can often stay during minor drying, yet temporary relocation may protect you from hazards, noise, and mold. Ask your technician to assess conditions first.
What Should I Do First After Discovering Water Damage?
Shut off the water source, then call emergency response services and your insurer. Move valuables, document damage, and start mold prevention by drying wet areas fast. You’ll protect your home and feel supported.
Conclusion
The best water damage repair starts with quick action and a complete plan. You stop the source, remove standing water, and dry affected areas before damage spreads. Then you check for hidden mold, structural issues, and electrical or insulation problems. When you choose a skilled repair team, you get clear communication and work that meets industry standards. That careful approach can save your property from turning into a soggy nightmare.