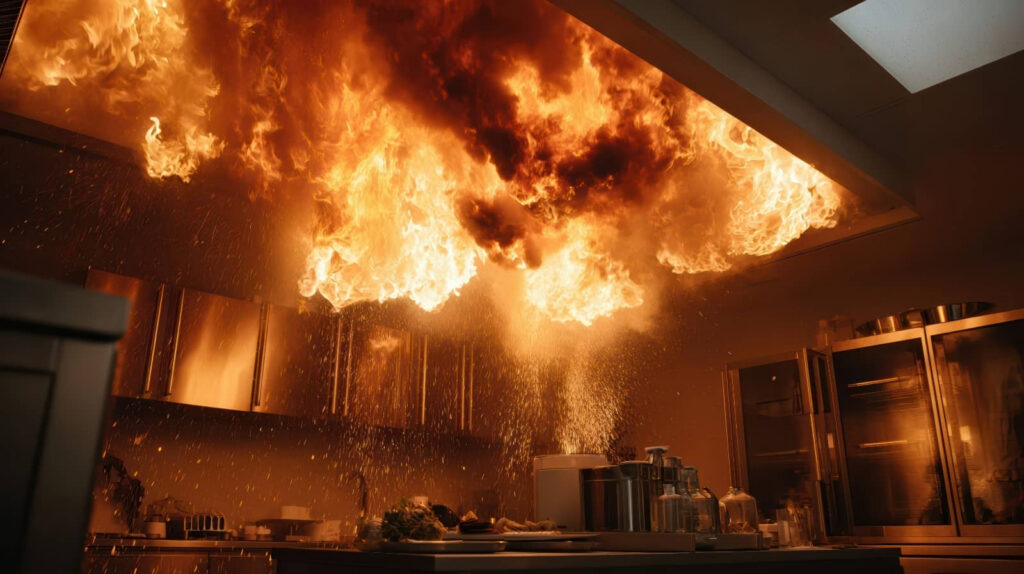
After a kitchen fire, you might think the damage stops when the flames are out, but the water used to suppress them can stay trapped in drywall, framing, and insulation. You need structural drying to remove that hidden moisture before it weakens materials or starts mold growth. The process uses airflow, dehumidification, and moisture checks, but knowing when drying is enough—and when repairs must begin—can change the outcome.
Key Takeaways
- Structural drying after fire damage removes hidden moisture from walls, framing, floors, and finishes left by firefighting water.
- It uses controlled airflow, dehumidification, and temperature management to dry building materials safely and efficiently.
- Moisture meters and inspections help locate trapped water in cavities, behind finishes, and under flooring.
- Drying reduces the risk of mold, rot, and further material deterioration from prolonged wetness.
- Structural drying stabilizes materials, but charred or damaged components still need repair or replacement.
What Structural Drying Means After Fire Damage?
Structural drying after fire damage means removing hidden moisture from building materials and assemblies so the structure can return to safe, stable conditions.
You assess the fire impact on walls, framing, subfloors, and finishes, then identify where moisture remains trapped. You use drying techniques such as controlled airflow, dehumidification, and temperature management to reduce water content without causing further damage.
This process helps you protect the building’s integrity, limit secondary deterioration, and support a consistent restoration plan. You also verify progress with moisture meters and document conditions until the materials reach acceptable levels.
When you understand structural drying, you can work with your restoration team confidently, knowing you’re helping the property recover in a precise, measurable way.
Why Firefighting Water Soaks Building Materials?
Firefighting water soaks building materials because porous substrates like drywall, wood framing, insulation, and concrete wick moisture into their internal voids.
You can’t rely on surface drying alone, since water often migrates behind finishes, into cavities, and along structural pathways.
This hidden moisture spread raises the risk of prolonged saturation, material degradation, and secondary damage if you don’t remove it quickly.
Porous Material Absorption
Porous materials act like capillary networks, pulling firefighting water deep into walls, floors, insulation, and framing members. You’ll see this in gypsum board, wood, concrete, and fiber insulation, which all contain voids that trap water.
Their absorption rates vary by density, finish, and composition, so some materials wet fast while others soak gradually. Once water enters, moisture retention keeps it in place, increasing load on assemblies and slowing natural drying.
You can’t rely on surface dryness, because the interior may still hold significant water. That’s why structural drying targets the material itself, not just visible wetting.
When you understand how your building’s materials behave, you can make faster, smarter recovery decisions with confidence and stay part of the restoration process.
Hidden Moisture Spread
Water from suppression efforts doesn’t stay on the surface; it follows gravity, capillary action, and pressure differences into assemblies where you can’t see it.
You may notice wet drywall, but water often moves deeper into insulation, framing cavities, subfloors, and sheathing. It can wick through seams, fasteners, and utility penetrations, then linger behind finishes long after the fire’s out.
That hidden moisture spread raises the risk of swelling, corrosion, microbial growth, and delayed failure. You need moisture mapping to trace these paths and confirm what’s saturated.
Skilled technicians look for hidden leaks, temperature shifts, and moisture anomalies so you’re not left guessing. When you understand where water traveled, you can dry the structure completely and protect your team, your property, and your peace of mind.
What Materials Need Structural Drying?
You need to dry water-damaged framing first, because absorbed moisture can weaken structural members and create conditions for decay.
Porous building materials such as drywall, insulation, and subflooring also retain water and usually need controlled drying or removal.
You should also inspect hidden moisture areas inside wall cavities, under flooring, and behind finishes, since trapped water can persist after visible surfaces look dry.
Water-Damaged Framing
Fire-damaged framing often needs structural drying when heat, smoke, and suppression water have raised the wood’s moisture content above safe levels.
You should begin with a framing inspection to identify warping, checking, and hidden saturation in studs, joists, and plates.
Then perform a moisture assessment with calibrated meters so you can compare affected areas against dry baseline readings.
If readings stay elevated, you’ll need controlled air movement, dehumidification, and temperature management to bring the framing back within acceptable limits.
You’re protecting structural integrity and limiting conditions that can support further deterioration.
Drying should continue until measurements stabilize and the framing matches the rest of the structure.
That process helps you move forward with confidence, knowing the frame is ready for the next phase.
Porous Building Materials
Once the framing is dry, assess the other porous building materials that can trap moisture after a fire.
You should inspect drywall, insulation, subflooring, wood trim, ceiling panels, and unfinished masonry because these porous materials absorb water and combustion byproducts quickly. Their moisture retention can slow drying, warp finishes, and support microbial growth if you leave them untreated.
Use meters to compare readings across affected surfaces, then set dehumidification and airflow to match the material’s density and thickness.
Remove or clean components that stay elevated after initial drying. You’ll protect the structure and keep your team aligned when you document what needs replacement, what can be salvaged, and what must keep drying under controlled conditions.
Hidden Moisture Areas
Hidden moisture often lingers where crews can’t see it, so structural drying has to target more than the obvious wet surfaces. You need hidden moisture detection to find trapped water in cavities, and moisture mapping to track where drying must continue.
Focus on materials that absorb, hold, or conceal water after fire suppression.
- Dry wall cavities behind gypsum board
- Insulation inside attics, ceilings, and exterior walls
- Subfloors, joists, and framing members
- Carpet padding and baseboards
You belong with the process when you verify these areas early, because missed moisture can lead to swelling, microbial growth, and structural weakness.
Use meters, thermal imaging, and airflow control to dry the assembly, not just the surface.
How Structural Drying Prevents Mold and Rot?
After fire suppression, residual moisture can remain trapped inside framing, sheathing, insulation, and subfloors, creating the conditions mold and rot need to develop.
When you use structural drying, you lower material moisture before spores colonize damp surfaces, supporting mold prevention and rot control.
You also reduce the prolonged wetness that weakens wood fibers and degrades adhesives, fasteners, and composite materials.
By restoring normal moisture levels, you limit microbial growth, staining, odors, and hidden decay that can spread behind finishes.
That means your structure stays more stable, safer, and easier to restore.
Acting promptly helps you protect the building envelope and keep the damage from expanding into adjacent assemblies.
The Structural Drying Process Step by Step
Start by evaluating the fire-damaged structure and mapping where moisture is trapped in framing, cavities, flooring, and finishes.
You then remove unsalvageable materials, isolate affected zones, and set up containment so drying techniques work efficiently.
Next, you increase airflow with directed fans and control humidity with dehumidifiers to pull moisture from porous assemblies.
After that, you open cavities where needed, protect unaffected rooms, and maintain stable temperature for consistent evaporation.
You keep checking progress and adjust equipment until the structure reaches a dry, safe condition that feels ready for rebuild.
- Remove debris and damaged materials
- Isolate wet areas from clean spaces
- Apply targeted air movement and dehumidification
- Confirm drying before restoration starts
How Pros Measure Moisture in Hidden Areas?
Once drying equipment is running, you still can’t rely on surface checks alone; fire damage often traps moisture inside wall cavities, subfloors, ceiling voids, and insulated assemblies.
You use moisture detection tools to read hidden conditions without opening every assembly. Pin and pinless meters compare material resistance and surface capacitance, helping you spot elevated readings fast.
For broader mapping, pros scan with infrared technology to locate cooler zones that may indicate retained water, then confirm them with direct probes.
You’ll also hear cavity inspection cameras and hygrometers used to verify air conditions around suspect areas.
When measurements line up, you know where hidden drying is needed. This method keeps your team aligned, reduces guesswork, and gives you clear data you can trust.
Why Fast Drying Saves More of Your Structure?
Fast drying limits how long fire-damaged materials stay exposed to elevated moisture, which helps prevent secondary deterioration in framing, subfloors, insulation, and finish surfaces.
You protect more of your structure when you move quickly because moisture control reduces swelling, corrosion, and microbial growth after fire damage. Your team can stabilize assemblies before hidden dampness spreads.
- Limits material distortion
- Preserves load-bearing components
- Reduces adhesion failure in finishes
- Supports faster return to service
When you act early, you keep more original building materials in place and avoid unnecessary losses.
That means your home or facility stays closer to its pre-loss condition, and you keep the restoration process more efficient, predictable, and aligned with your recovery goals.
When Structural Drying Isn’t Enough for Repairs?
Structural drying can stop moisture-related deterioration, but it won’t repair materials that are charred, structurally weakened, delaminated, or chemically compromised by smoke and heat.
You’ll still face repair challenges when framing has lost load-bearing capacity, drywall has separated, or insulation has absorbed soot and acids.
In those cases, drying helps stabilize the site, but it can’t reverse thermal degradation or restore original performance.
You need targeted demolition, material replacement, and verified structural assessment before rebuilding.
These restoration limitations are normal after fire damage, and your team should identify them early so you can plan safer, more efficient repairs.
When you understand what drying can and can’t do, you stay aligned with the restoration process and protect your home’s long-term integrity.
Frequently Asked Questions
How Long Does Structural Drying Usually Take After a Fire?
You’ll usually need three to seven days for structural drying after fire damage, depending on saturation, materials, and drying equipment. You can speed recovery with professional monitoring, because moisture levels, airflow, and heat drive the timeline.
Can Homeowners Do Structural Drying Themselves Safely?
Not usually; you can handle light drying, but fire damage can hide moisture, soot, and structural weaknesses. Prioritize DIY safety, wear protective gear, ventilate well, and call professionals if you notice odors, warping, or electrical hazards.
Does Insurance Typically Cover Structural Drying Costs?
Usually, your insurance policy covers structural drying costs after fire damage, but coverage limits, deductibles, and exclusions can reduce payment. Like a firefighter’s hose tracing charred walls, you’ll want your adjuster to verify your claim quickly.
Should Furniture Be Removed Before Structural Drying Begins?
Yes, you should remove furniture before drying begins to improve airflow and access. If removal isn’t possible, you’ll need furniture protection to shield items from soot and moisture while drying equipment runs efficiently throughout the space.
Can Structural Drying Eliminate Smoke Odors Too?
No, structural drying alone won’t eliminate smoke odors; you’ll need odor removal techniques like HEPA filtration, thermal fogging, and sealants. You can also support smoke damage prevention by removing residues before they settle deeper.
Conclusion
So, after a fire, the “cleanup” isn’t just ash removal—you’ve also got to dry the water hidden inside your walls, floors, and framing. If you skip structural drying, that leftover moisture can quietly fuel mold, rot, and costly repairs. Fast, measured drying helps you protect what’s still sound and spot what isn’t. In other words, the water used to save your building can also be the thing that damages it most—if you let it linger.