
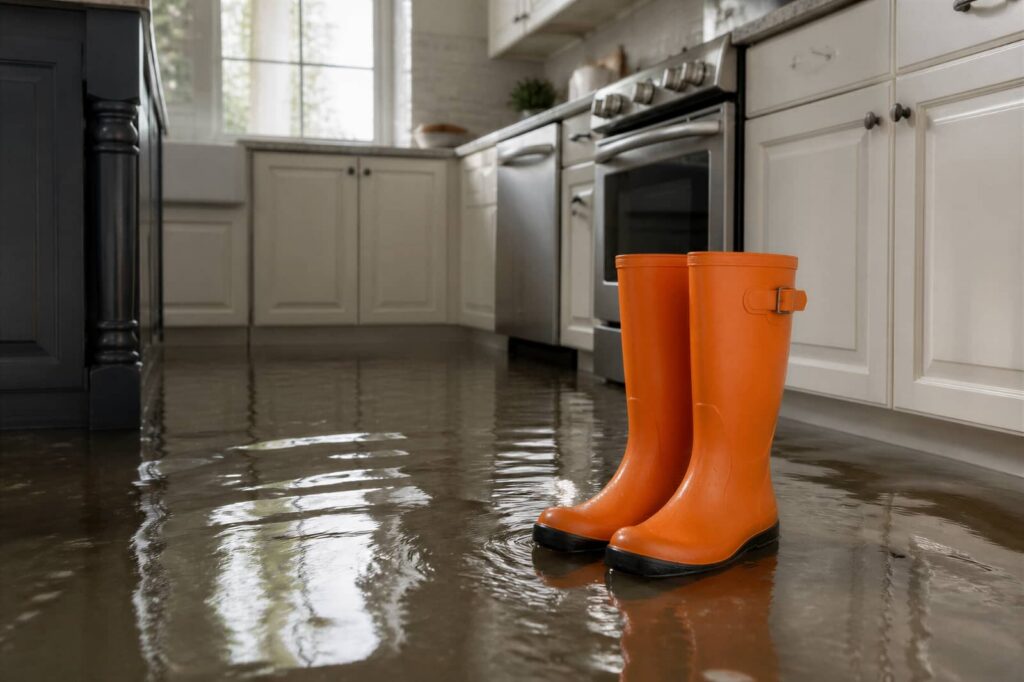
Flood water can hide damage long after the surface looks dry. You need to assess the affected areas fast, shut off power if needed, and remove standing water before mold can take hold. Then you’ve got to open up cavities, place air movers and dehumidifiers correctly, and measure moisture in every room. Some materials won’t dry safely, and that’s where the next rapid home drying steps matter.
Key Takeaways
- Assess flood damage quickly, document everything, and shut off water and electricity if safe.
- Remove standing water immediately using pumps, wet vacs, or towels to prevent mold growth.
- Dry hidden areas with fans, dehumidifiers, and moisture meters to catch trapped dampness.
- Remove unsalvageable materials like wet insulation, drywall, carpet, and padding to speed drying.
- Use cross-ventilation and professional moisture assessment for faster, safer structural drying.
Assess Flood Damage Fast
As soon as it’s safe to enter, you need to assess flood damage fast so you can stop further deterioration.
Start a damage assessment room by room, noting structural impacts, wet materials, and salvage items. Photograph everything for flood insurance and insurance claims, and record dates, depths, and affected systems.
Use your recovery plan to prioritize hazards, then update emergency contacts so your team stays aligned. Check community resources for vetted drying and cleanup support, and document every action for your restoration timeline.
Apply mitigation strategies that limit mold, swelling, and corrosion before losses spread. Keep receipts, measure losses carefully, and compare conditions against property valuation records.
Clear notes help your claims, speed decisions, and keep you connected to the people and services supporting your home’s recovery.
Stop Flood Water and Shut Off Power
If floodwater is still entering, stop it at the source by closing the nearest valve, securing external openings, or using temporary barriers until responders can help. You’ll protect your crew and home faster when you act decisively and keep the area controlled.
Move furniture away from entry points only if it’s safe, and avoid creating paths that let more water spread. For flood prevention, inspect door sweeps, window seals, and foundation vents as soon as conditions allow.
Then cut electrical service at the main breaker if you can reach it without standing in water. For power safety, never touch wet switches, outlets, or cords. If the panel is inaccessible, call your utility or an electrician.
Your quick, coordinated response keeps everyone aligned and reduces damage.
Remove Standing Water Before Mold Starts
Remove standing water immediately, because mold can start growing within 24 to 48 hours.
Use pumps, wet vacs, or towels to clear all visible water, then check hidden areas like baseboards, cavities, and under flooring.
Fast removal limits moisture retention and helps you stop mold before it takes hold.
Stop Mold Fast
Standing water gives mold an immediate foothold, so you need to clear it fast after any leak, spill, or flood. Your first priority is mold prevention: isolate the wet area, protect nearby dry spaces, and keep people out until surfaces no longer feel damp.
Use air circulation to speed evaporation; open interior doors, run fans, and keep HVAC airflow steady if it won’t spread contamination. Check hidden pockets under furniture, rugs, and baseboards, because mold can start there before you notice.
Don’t trap moisture with closed cabinets or stacked items. Act quickly, stay methodical, and you’ll reduce the chance of spores taking hold.
If the area smells musty or stays wet, treat it as a warning sign and escalate your response immediately.
Clear Standing Water
After you’ve contained the wet area, get the water out as quickly as possible so mold can’t establish itself.
Use water extraction first: a wet vac, sump pump, or mop and bucket, depending on depth. Push water toward drains, then check whether your drainage solutions are actually moving liquid away from the space.
If pooling returns, improve slope, open floor drains, or clear blocked exits. You should keep traffic limited so you don’t spread contamination.
Work in a methodical pattern, pulling from the edges toward the center. Empty equipment often so it stays effective.
If you’re coordinating with others, assign one person to extract and another to monitor runoff. Fast removal protects the whole home and helps your crew stay ahead of preventable damage.
Dry Hidden Areas
Once the visible water is gone, you still need to dry concealed spaces before moisture lingers and mold takes hold.
Pull back baseboards, open cabinet doors, and inspect under sinks, behind appliances, and inside wall cavities if access is safe. Use fans, dehumidifiers, and targeted drying techniques to move air into tight zones.
Lift rugs and furniture pads so hidden moisture can escape. If you find wet insulation, saturated drywall, or warped trim, remove and dry them promptly.
Check with a moisture meter, not just touch, because cool surfaces can mask dampness. Stay methodical and work room by room; that’s how you protect your home and keep your cleanup team strong, informed, and ready for the next step.
Open Up Walls and Floors to Dry
When water has soaked into wall cavities or subfloors, you need to open the assembly so air can reach the wet materials. Cut inspection holes at the base of walls, remove wet baseboards, and expose wall insulation if it’s holding moisture.
On floors, lift damaged finishes where needed so the subfloor can dry from both sides. Use proven ventilation techniques to move indoor air through these openings and prevent trapped dampness from lingering. You’re protecting the structure and helping your home’s dry-out crew work as one.
Remove only what you must, but don’t seal wet cavities back up too soon. Check framing, sheathing, and adjacent materials for hidden moisture before closing anything. Fast access, careful opening, and steady airflow reduce repair time and lower the risk of secondary damage.
Place Air Movers and Dehumidifiers Correctly
Position air movers so they sweep across wet surfaces and push moisture toward open exits, not directly into closed cavities or against solid barriers.
You’ll get better air circulation when each unit creates a steady, overlapping flow across the affected area.
Set dehumidifiers in the driest, most central spot you can access, with doors open enough for balanced moisture control.
Keep intake and exhaust clear so the equipment can work with the room, not against it.
Then check readings often and adjust placement as materials dry.
If one zone lags, shift an air mover slightly to maintain coverage.
Work as a team with the equipment, and you’ll speed drying, reduce lingering dampness, and protect the space more effectively.
Dry Ceilings, Insulation, and Hidden Cavities
Even after visible surfaces dry, you still need to verify ceilings, insulation, and hidden cavities because trapped moisture can persist behind finishes and inside voids.
Check ceiling materials for sagging, staining, or soft spots, then open select access points to inspect insulation types and framing. Use drying techniques that push warm, dry air through these spaces while preserving air circulation across room openings.
Remove and replace soaked insulation; wet fibers can hide hidden mold and reduce performance. Confirm moisture barriers remain intact, because torn barriers keep feeding damp areas.
Support ventilation systems with targeted drying equipment, especially in enclosed chases, soffits, and dropped ceilings.
You’re part of the group that dries smarter when you address concealed moisture early, document what you find, and finish the job thoroughly.
Measure Moisture in Every Room
How do you know the home is truly dry? You measure every room with moisture meters and compare humidity levels against a baseline.
Check walls, floors, and trim in each space; material absorption varies, so one room can mask lingering moisture retention in another.
Track environmental factors like temperature and recent water sources, then adjust room ventilation and air circulation to improve drying efficiency.
Use the same drying techniques each day so your readings stay consistent and your team can trust the results.
Record numbers morning and evening, especially near bathrooms, kitchens, and laundry areas.
When all rooms stabilize, you know your shared space is moving toward safe recovery, and you’re making progress together with clear, technical control.
Remove Materials That Won’t Dry Safely
Remove saturated insulation because it traps moisture and can’t dry safely in place.
Discard warped drywall, since it loses structural integrity and can hide mold growth.
Pull out wet carpet and padding so you can expose the subfloor and dry the area correctly.
Remove Saturated Insulation
Pull back waterlogged insulation as soon as you can, since it traps moisture, loses its insulating value, and can harbor mold after drying efforts begin.
You should identify the insulation types in each cavity before you remove anything, because batts, blown-in fill, and foam respond differently.
Check moisture barriers for damage, then cut back saturated sections with safety precautions in place.
Bag the wet material immediately and keep it out of active drying paths so your drying techniques and drying equipment can work efficiently.
If you leave soaked insulation in place, you slow mold prevention and compromise energy efficiency.
Plan insulation replacement once the framing and sheathing read dry and stable.
When you work methodically, you protect the space, support your crew, and move the whole home toward recovery together.
Discard Warped Drywall
When drywall swells, softens, or bows after water exposure, you should cut it out instead of waiting for it to dry. You protect the structure by removing panels that have lost strength, because warped gypsum can trap moisture and support hidden damage.
Mark clean lines above the visible stain, then use a utility knife or drywall saw to open the wall. Bag the debris for proper drywall disposal and keep the work area clear so your team can move fast.
Check studs, framing, and fasteners for corrosion or decay before you close the cavity. Then review replacement options that match the original thickness and finish, so you can restore a solid, safe wall with confidence.
Pull Out Wet Carpet
Lift saturated carpet and pad as soon as you’ve confirmed they can’t dry safely, because trapped moisture can wick into the subfloor and create mold, odor, and delamination.
Wear gloves, cut the carpet into manageable sections, and roll it away from walls before you lift the tack strips if needed. Move baseboards or quarter-round only when they trap moisture behind the edge.
Then continue moisture extraction with fans and dehumidifiers on the exposed floor so the structure can recover quickly. If the carpet was contaminated, follow carpet cleaning standards before disposal or replacement.
Keep your team coordinated, because speed protects the room and reduces secondary damage. Dispose of wet padding immediately; it rarely dries evenly and often holds contamination, so removal is the safest path.
Boost Flooded House Drying With Ventilation
Open windows and run fans as soon as conditions allow, because moving air speeds evaporation and helps limit lingering moisture in a flooded house.
You should create cross-ventilation by opening opposite openings and positioning fans to push damp air out, not just swirl it around. Use ventilation techniques that keep air paths clear, and shift furniture so air circulation reaches walls, corners, and under cabinets.
If outdoor humidity is lower than indoor humidity, you’ll dry faster; if it’s higher, keep openings limited and rely on mechanical airflow. Run ceiling fans, box fans, and exhaust fans together when safe.
Monitor surfaces daily, and keep the space consistent so your household can recover as one team. Stop when materials feel dry, not merely cool.
Call a Structural Drying Pro Early
Call a structural drying pro early so you can get an accurate moisture assessment before damage spreads.
They use specialized tools to detect hidden water in cavities, under flooring, and inside materials you can’t inspect by sight.
With that data, they can set a fast drying strategy that reduces secondary damage and shortens recovery time.
Early Moisture Assessment
How much hidden moisture is still trapped after the visible water is gone? You need an early moisture assessment to answer that fast.
A structural drying pro uses moisture detection tools to measure affected materials, compare readings, and map drying priorities. That gives you a clear baseline, so you can act with the same confidence as the rest of the team.
You’ll also get humidity control guidance that keeps indoor conditions in the safe drying range and slows secondary damage. Early numbers help you choose the right equipment, monitor progress, and avoid wasted time.
When you assess moisture immediately, you reduce risk, protect finishes, and keep your home’s recovery on track. Call early, get verified data, and dry smarter.
Hidden Water Detection
Hidden water often remains after surface moisture is gone, and it can keep damaging framing, drywall, insulation, and subfloors long after the area looks dry. You can’t rely on touch alone; use moisture mapping to locate damp zones behind finishes and around penetrations.
Hidden leaks often travel along pipes, base plates, and wall cavities, so check adjacent rooms, ceilings, and lower levels, too. If readings stay elevated or materials feel cool, call a structural drying pro early. You’ll protect your home’s structure, reduce secondary damage, and avoid missed contamination points.
A trained specialist uses meters, thermal imaging, and targeted inspections to confirm what you can’t see. That’s how your team moves from guesswork to control, quickly and confidently, together.
Fast Drying Strategy
You can cut drying time dramatically by bringing in a structural drying pro as soon as the damage is identified.
You’ll get a calibrated plan that targets wet materials, controls humidity, and limits secondary damage. Their equipment supports quick drying techniques, including high-capacity dehumidifiers, air movers, and moisture mapping.
You stay in the loop while they isolate saturated zones and verify progress with meter readings. Efficient airflow management matters here: pro placement of fans and extraction gear prevents trapped moisture and speeds evaporation.
That means your home dries faster, your materials recover better, and your team effort feels organized.
Don’t wait for visible dampness to disappear; hidden moisture can linger behind walls and under floors. Act early, and you’re part of the fastest path to recovery.
Frequently Asked Questions
How Do I Document Damage for Insurance Claims?
You document damage by photographing everything, listing affected items, noting dates, and saving receipts. During the claim process, conduct a damage assessment, share records promptly, and you’ll strengthen your case with clear, credible evidence.
What Personal Protective Equipment Should I Wear?
You should wear safety goggles, protective gloves, a respirator, and waterproof boots. You’ll protect your eyes, skin, and lungs while you work, and you’ll fit right in with a prepared, safety-first crew.
When Should I Replace Contaminated Insulation?
Replace contaminated insulation immediately when you see contamination signs like mold, sewage, or persistent odor. Different insulation types respond differently, but you should remove and replace any wet, damaged, or compromised material to protect your home.
How Can I Prevent Lingering Odors After Drying?
Use odor absorbing materials like activated charcoal, baking soda, and zeolite immediately after drying. Seal damp sources, ventilate thoroughly, and apply essential oil strategies sparingly. You’ll keep rooms crisp, clean, and welcoming.
Should I Hire a Professional for Hidden Mold Checks?
Yes, you should hire a professional for hidden mold checks if you suspect concealed growth. They use mold detection methods and provide professional inspection benefits, helping you protect your home, health, and peace of mind.
Review
When you move fast, you turn a flooded house from a breeding ground for mold into a space ready for recovery. Keep the airflow strong, the meters honest, and the wet materials gone. Think of drying as setting a lighthouse in storm water: it guides every decision until the structure is safe again. If you stay precise, monitor continuously, and bring in a pro when needed, you’ll finish the job before hidden moisture can take root.