
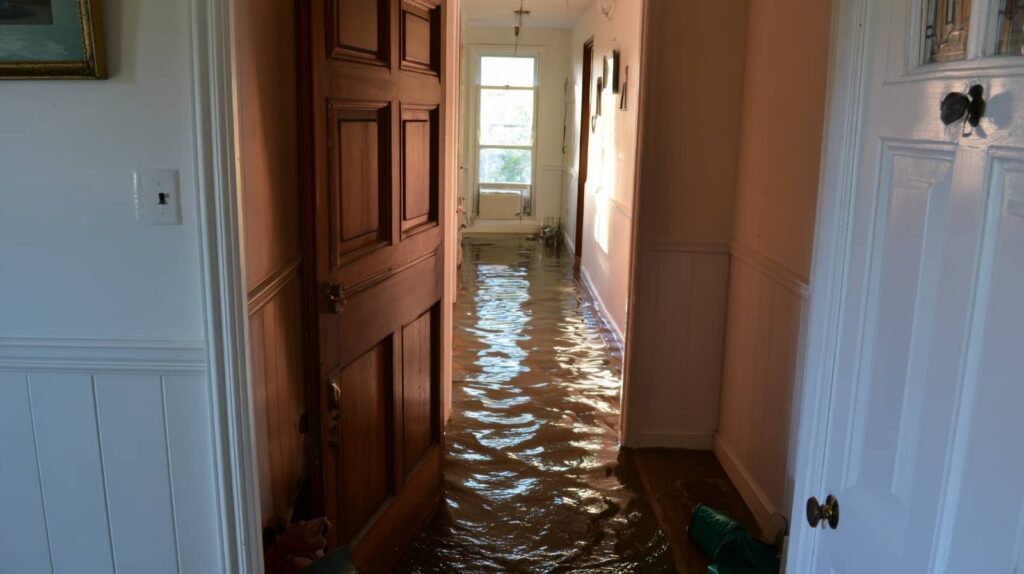
When water damages your home, you need to act in a specific order to limit structural and mold problems. You’ll start by stopping the leak and cutting power, then you’ll inspect the ceiling for hazards before removing standing water and damaged materials. After that, open the ceiling, set up drying equipment, and track moisture until the area is ready for repair. One step can change the outcome, and it isn’t always the one you expect.
Key Takeaways
- Stop the leak and cut power to the affected area before touching any water-damaged materials.
- Inspect the ceiling and surrounding structure for sagging, cracks, drips, and other safety hazards.
- Remove standing water, discard unsalvageable materials, and open hidden cavities to speed drying.
- Use fans and dehumidifiers to maintain airflow and control moisture until surfaces are fully dry.
- Confirm dryness with a moisture meter before patching, painting, and restoring the damaged area.
Stop the Ceiling Leak and Cut Power
Before you dry anything, you need to stop the source of the ceiling leak and shut off power to any affected area. If you can access the plumbing valve, close it fully; if the leak comes from the roof, cover the entry point as a temporary measure.
Then switch off the breaker for the wet room and confirm that fixtures, fans, and outlets stay dead. Don’t use water, metal tools, or wet hands near energized circuits. This quick response protects your household and supports leak prevention.
Keep a record of where you found the leak and what you shut down, because that helps with ceiling maintenance later. When your home team works together here, you reduce damage, improve safety, and set up the drying process correctly.
Inspect the Ceiling for Safety Hazards
Once the leak is stopped and power is off, inspect the ceiling for immediate hazards before you work underneath it. You’re protecting yourself and your household by making this ceiling inspection methodical and calm. Look for sagging drywall, bulging paint, active drips, and cracked seams.
- Stand clear of any bowed section.
- Use a flashlight to check edges and joints.
- Tap lightly only if the surface feels stable.
- Mark unsafe areas so everyone avoids them.
These safety precautions help you spot failure points before they worsen. If you notice movement, discoloration, or a soft spot, don’t press upward or force access.
Keep the area quiet and controlled, and stay alert for changes. You’re part of a careful response team, and disciplined observation now keeps the space safer for the next step.
Remove Standing Water and Damaged Materials
Begin removing standing water as soon as the area is safe to enter, using a wet/dry vacuum, pump, mops, or absorbent towels to reduce moisture fast.
Work from the highest remaining water line toward drains, and empty containers before they overflow. Use removal techniques that match the surface: vacuum smooth floors, blot carpet, and lift saturated padding if it can’t dry quickly.
Then sort damaged materials by condition; discard swollen particleboard, crumbling drywall, and any item that stays wet after extraction.
Keep your moisture assessment current by checking hidden corners, baseboards, and subfloor edges with a meter.
You’re part of a recovery team now, so document what you remove, bag debris promptly, and keep pathways clear for drying equipment and later repairs.
Open the Ceiling to Speed Drying
Open the ceiling where water has entered so you can inspect for hidden moisture above the drywall and insulation.
This opening lets trapped air escape, which improves airflow and speeds drying in the cavity.
Remove any saturated material you expose, because wet insulation, backing, or drywall will hold moisture and slow recovery.
Locate Hidden Moisture
To find hidden moisture, inspect the ceiling cavity, attic edges, and the backs of light fixtures for damp insulation, staining, or sagging drywall, because trapped water can keep drying from progressing. You’re not alone in this step; careful moisture detection helps your crew work as one.
Use a pin-type meter and visual checks to confirm hidden leaks before you close anything up.
- Probe around seams and fasteners.
- Mark wet zones with tape.
- Compare readings in adjacent dry areas.
- Photograph each suspect spot for records.
If you find saturation, leave the opening exposed until readings drop and materials feel stable.
Then you can plan the next repair with confidence, protect indoor air quality, and keep the structure on a steady drying path.
Release Trapped Air
Cut relief openings in the ceiling only where hidden moisture is confirmed, because trapped air and vapor slow evaporation inside closed cavities.
You should map each wet bay, then open small access points that let damp air escape without weakening the assembly.
Keep the openings neat and spaced to promote air circulation across the void, and position fans so they move dry room air through the cavity, not just across the surface.
As you work, monitor humidity and temperature so your moisture control plan stays on target.
Seal the room from outside air when conditions are humid, and coordinate with your drying team so everyone uses the same readings and layout.
When you share this process, you help your crew move faster, stay accurate, and dry the space with confidence.
Remove Saturated Materials
Remove saturated ceiling materials once you’ve confirmed the cavity is too wet for rapid in-place drying, because trapped insulation, gypsum, and debris can hold moisture and delay recovery.
You’ll protect the structure and support mold prevention by opening the ceiling only where needed, then removing damaged layers cleanly.
- Cut back to sound, dry edges.
- Bag wet insulation and debris immediately.
- Label and photograph all removed materials for insurance claims.
- Ventilate the cavity with fans and dehumidifiers.
Wear PPE, shut off nearby circuits, and check framing for staining or sagging.
If you’re working with your crew, keep each pass deliberate and documented so everyone stays aligned.
After removal, monitor moisture readings daily and continue drying until the cavity stabilizes.
Set Up Fans and a Dehumidifier
Place fans so they move air across wet surfaces and toward open exits, not directly at one spot, to promote even evaporation.
Set the dehumidifier in the most humid area with clear intake and exhaust space, and keep doors open when possible to improve circulation.
Check airflow at intervals, then adjust fan angles and dehumidifier placement if moisture lingers or dead zones form.
Fan Placement Strategy
Start by positioning your fans to drive air across the wet surfaces and toward an exit path, while the dehumidifier works in the driest, most open area you can provide.
Choose fan types that match the room size: axial fans move volume, while air movers target floors and walls. Keep airflow direction consistent so moisture can’t settle back into materials.
- Aim each fan to sweep along surfaces, not straight at corners.
- Stagger units so their streams overlap without colliding.
- Raise fans slightly when you need to clear low-wall dampness.
- Check that cords and housing stay clear of obstructions.
You’re building a drying pattern your team can trust, so adjust placement as surfaces lose moisture and the room’s air feels less heavy.
Dehumidifier Positioning
With the fan pattern set, position the dehumidifier where it can pull moisture from the room most efficiently—typically in the largest open area, away from walls, furniture, and direct fan discharge.
You’ll help the unit work like part of a coordinated drying team when you choose the right dehumidifier types for the room size and saturation level.
Keep the bucket or drain hose secure, then set ideal settings for maximum moisture removal without overcooling the space.
If you use a refrigerant model, keep it in warmer zones; if you use a desiccant unit, place it where lower temperatures won’t slow performance.
Leave clearance around intake and exhaust so the device can breathe, and make sure you can access controls easily for quick adjustments.
Airflow Monitoring Tips
As the fans and dehumidifier run, check airflow at regular intervals to confirm the room is drying evenly instead of creating dead zones or pushing moist air back into saturated materials. You can use simple airflow techniques to guide the stream across wet surfaces and toward the dehumidifier intake.
Stay with the process; careful monitoring helps your crew feel confident the space is moving toward recovery.
- Feel for consistent air movement at corners.
- Reposition fans when surfaces stay cool or damp.
- Keep doors open if they improve circulation.
- Watch humidity control readings every few hours.
If readings stall, adjust fan angles, clear obstructions, and verify the dehumidifier isn’t blocked. Small corrections keep drying efficient and help everyone working with you stay on track.
Check Moisture Levels Until the Ceiling Is Dry
A moisture meter gives you the clearest read on whether the ceiling has fully dried. Probe the same spots daily, especially near seams, stains, and fasteners, so you can track moisture detection with precision.
Record each reading and compare it with the surrounding dry areas to confirm the gap is closing. If values stay elevated, keep applying drying techniques like targeted airflow and dehumidification, and recheck after several hours.
You should also feel for coolness, softness, or sagging, but trust the meter first. Work with your household as a team: one person logs readings while another watches environmental conditions.
When the numbers level off at a normal baseline and stay there, you can move forward knowing the ceiling’s ready for the next step.
Patch, Prime, and Repaint the Ceiling
Once the ceiling reads dry and stable, patch any remaining cracks, nail pops, or damaged spots with a suitable joint compound or repair patch. Then sand the area smooth after it cures.
For ceiling repair, clean dust, then apply primer to seal stains and improve adhesion. Use careful surface preparation so your painting techniques stay even and durable. If damage reaches the board core, consider drywall replacement before you proceed.
- Match existing texture with test samples.
- Choose color selection after primer dries.
- Apply moisture prevention caulk at seams.
- Inspect for long term maintenance needs.
Work in thin coats, feather edges, and let each layer dry fully. You’re restoring a safe, unified room, and these steps help your ceiling blend in with the home you belong to.
Frequently Asked Questions
How Soon Should Insurance Be Notified After Ceiling Water Damage?
Notify your insurer immediately, ideally within 24 hours, to start your insurance claim and preserve damage documentation. You’ll strengthen your position, speed assessment, and keep your household supported through the repair process.
Can Hidden Mold Develop Before Visible Stains Appear?
Yes—hidden mold can bloom like a wildfire before visible stains appear. You should inspect damp materials quickly, because mold growth can start within 24–48 hours. Use prevention measures: dry, ventilate, and remove saturated materials promptly.
What Personal Protective Equipment Is Needed During Cleanup?
You’ll need protective gloves, safety goggles, an N95 or better respirator, waterproof boots, and long sleeves. If you’re handling contaminated water, add disposable coveralls; you’ll reduce exposure and work confidently with your cleanup team.
Should Damaged Insulation Be Replaced or Dried in Place?
You should usually replace damaged insulation; drying in place rarely restores full performance. Different insulation types respond differently, so use proper drying techniques only for minor wetting. You’ll protect your crew and keep your home sound.
When Is Professional Structural Assessment Necessary After Leaks?
You need a professional structural assessment when water damage reaches load-bearing walls, ceilings, floors, or framing, or if you notice sagging, cracks, or shifting. It protects your home’s structural integrity and helps you feel confident.
Summary
When you stop the leak and open the ceiling, you’re like a captain sealing a breached hull before the tide claims the cabin. You guide the water out, clear the debris, and let fans and dehumidifiers drive out hidden moisture. Keep checking with a meter until the structure reads dry. Then you patch, prime, and repaint. By following these steps, you don’t just dry the room—you restore its strength, safety, and appearance.