
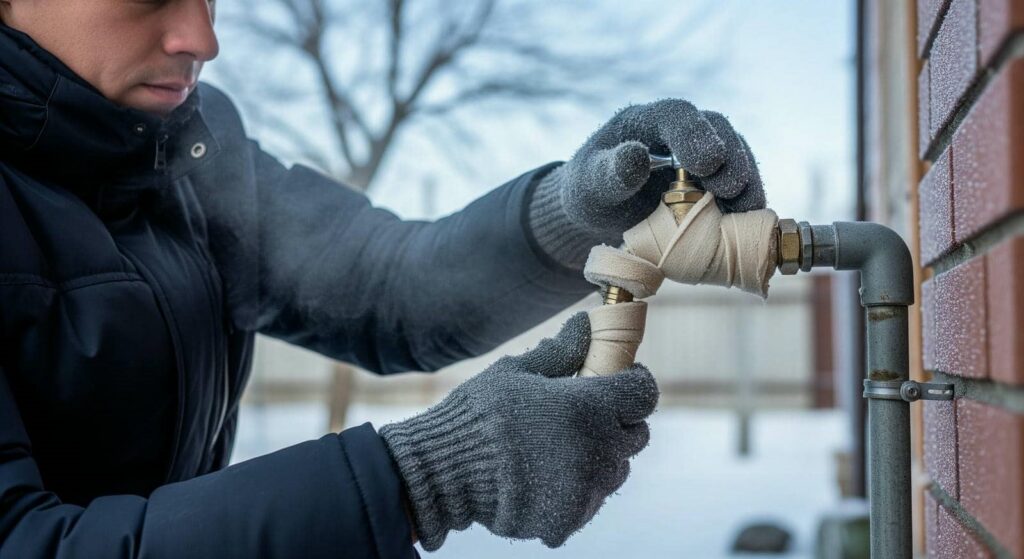
When a pipe bursts, swift action is vital to minimize damage and costs. You’ll need to shut off your water supply immediately and assess the situation carefully. Understanding the essential steps for burst pipe cleanup can make a significant difference. What should your next move be to ensure effective damage control?
Key Takeaways
- Turn off the main water supply immediately to prevent further flooding and damage.
- Remove standing water using mops, buckets, or wet/dry vacuums to minimize moisture.
- Assess water damage thoroughly, documenting affected areas and structural integrity.
- Gather cleanup supplies, including water extraction equipment and safety gear, before starting.
- Monitor for mold growth and maintain proper ventilation to prevent health risks.
Understanding the Risks of a Burst Pipe
When a pipe bursts, you face significant risks that can lead to extensive damage and costly repairs. Understanding pipe materials is essential; some, like PVC, handle pressure differently than copper or iron.
Seasonal maintenance plays a fundamental role in preventing bursts. Cold weather can cause pipes to freeze, leading to cracks and leaks. Regularly checking for signs of wear and tear, such as corrosion or leaks, can save you from future disasters. If you notice any irregularities, addressing them promptly can mitigate risks.
Additionally, being aware of your home’s plumbing layout allows you to act quickly in emergencies. By taking these proactive steps, you’ll protect your home and ensure a safer environment for everyone involved.
How to Safely Shut Off Your Water Supply
Although you may not anticipate a burst pipe, knowing how to safely shut off your water supply can prevent further damage.
First, locate your main water valve; it’s typically found near your water meter or where the main line enters your home. Once you’ve identified the valve, turn it clockwise to shut it off.
If you’re unsure of the pipe location, follow the main supply line to its entry point. Be cautious when handling the valve, as it may require some force if it hasn’t been turned in a while.
After shutting off the water supply, check for any additional shut-off valves near the affected area to isolate specific leaks. Taking these steps ensures you minimize damage effectively.
Assess Water Damage Extent
Evaluating the extent of water damage is essential for determining the necessary cleanup and repair steps.
Begin with a thorough water damage assessment to identify affected areas, including walls, floors, and ceilings. Look for signs like discoloration, warping, or mold growth. Document your findings to keep a clear record of the damage.
Next, conduct a structural integrity evaluation. Check load-bearing elements and support structures to ensure they’re safe. If you notice significant damage, consult professionals for further inspection.
Addressing these issues early can prevent further complications and ensure a safer environment for you and your family.
Gathering Essential Cleanup Tools
After evaluating the extent of water damage, the next step is to gather the necessary cleanup tools.
Start by organizing your cleanup supplies, making sure you have water extraction equipment like pumps and wet vacuums. Don’t forget safety equipment; personal protective gear such as gloves, masks, and goggles is essential.
For effective drying, collect drying materials like towels and dehumidifiers. Moisture meters will help you monitor dampness levels, while ventilation fans aid in air circulation.
Additionally, stock up on cleaning solutions to sanitize affected areas. Proper tool organization streamlines the process and ensures you have everything at hand when you need it.
This preparation will set the stage for an efficient cleanup.
Steps to Remove Standing Water
To effectively remove standing water, start by evaluating the most affected areas to prioritize your efforts.
Use a submersible pump or a wet/dry vacuum for efficient water extraction. Confirm you have the right equipment ready, as this will speed up the process.
Begin at the lowest points where water has pooled, working your way to higher areas. If the standing water is substantial, consider enlisting help to manage the workload effectively.
After extracting the majority, use mops or towels for any remaining moisture. Don’t forget to check for hidden pockets of water that may contribute to further damage.
Completing these steps promptly helps prevent mold growth and structural issues, fostering a safer environment for everyone involved.
Drying Affected Areas
Start drying affected areas immediately to minimize damage and prevent mold growth.
Begin by using fans and dehumidifiers to enhance air circulation and facilitate humidity control. Position fans to blow air across wet surfaces, ensuring that moisture evaporates more quickly. Dehumidifiers will help extract excess moisture from the air, creating an environment less conducive to mold.
Check hidden areas like behind walls or under floors, as moisture can linger there. Open windows and doors to promote cross-ventilation if weather permits.
Regularly monitor humidity levels with a hygrometer; aim to keep them below 60%. Continue this process until all affected areas are thoroughly dry, ensuring your space returns to a safe and comfortable condition for everyone.
How to Identify and Prevent Mold Growth
To effectively combat mold growth after a burst pipe, you need to recognize the signs early.
Look for discoloration, musty odors, and water stains, which indicate potential mold development.
Implementing effective prevention strategies, like maintaining low humidity and proper ventilation, is essential for safeguarding your space.
Signs of Mold Growth
Have you noticed a musty odor in your home or signs of discoloration on walls? These are common indicators of mold growth.
Various mold types thrive in damp environments, with black mold being particularly hazardous. Look for water stains, peeling paint, or a fuzzy texture on surfaces; these signal moisture issues.
High humidity levels can exacerbate mold proliferation, so humidity control is essential. Use a dehumidifier in affected areas to maintain ideal levels.
Regularly inspect hidden spaces like basements and attics, as mold often lurks unnoticed. If you suspect mold, addressing it promptly can prevent health risks and structural damage.
Stay vigilant, and make sure your home remains a safe and welcoming space for you and your loved ones.
Effective Prevention Strategies
Even when mold growth seems inevitable in damp areas, implementing effective prevention strategies can markedly reduce the risk.
Start by ensuring proper pipe insulation; this keeps pipes warm and minimizes condensation. Regularly inspect your insulation for damage or wear.
Temperature monitoring is vital; maintain indoor temperatures above 60°F to inhibit mold growth. Use hygrometers to track humidity levels, aiming for a range between 30-60%.
If you notice any leaks or water damage, address them immediately to prevent mold proliferation. Additionally, ensure proper ventilation in high-moisture areas like bathrooms and kitchens.
Employing these proactive measures protects your space and fosters a healthier environment for everyone involved. Taking these steps shows your commitment to a safe, mold-free home.
When to Seek Professional Help for Burst Pipe Damage
If you notice signs of extensive damage, like warped walls or persistent leaks, it’s essential to seek professional help.
Ignoring these issues can lead to significant health and safety risks, including mold growth and structural instability.
Don’t hesitate to call in experts to assess the situation and ensure safe, effective cleanup.
Signs of Extensive Damage
When a burst pipe disrupts your home, recognizing the signs of extensive damage is essential for preventing further complications.
Look for water discoloration on walls or ceilings, which can indicate hidden leaks. If you notice wall warping or ceiling stains, it’s a clear signal that moisture is affecting structural integrity.
Flooring damage, such as buckling or soft spots, can also reveal the extent of water infiltration. Be alert for musty odors—these often signify mold growth and insulation damage.
Additionally, if you observe any signs of structural instability, seek professional help immediately.
Finally, don’t ignore potential electrical hazards, as water can compromise wiring. Acting quickly can save you time, money, and stress in the long run.
Health and Safety Risks
Recognizing health and safety risks after a burst pipe is essential for protecting yourself and your home.
Waterborne illnesses can arise from contaminated water, making proper sanitation measures critical. Be mindful of chemical exposure from cleaning agents, which may pose respiratory issues.
Slip hazards from standing water can lead to falls, while electrical risks increase if water contacts wiring. Additionally, assess the structural integrity of your home; weakened structures can collapse unexpectedly.
Always wear personal protective equipment, like gloves and masks, to safeguard against these dangers.
If you notice extensive damage or feel overwhelmed, don’t hesitate to seek professional help. Their expertise ensures thorough cleanup and minimizes health risks, providing peace of mind for you and your loved ones.
Documenting Damage for Insurance Claims
To ensure a smooth insurance claims process after a burst pipe, it’s essential to meticulously document all damage. Start by taking clear photos of affected areas, capturing both wide shots and close-ups.
Create a detailed inventory of damaged items, noting their condition and value. This insurance documentation serves as vital evidence for your claim.
Keep records of any repairs or clean-up efforts, including receipts and invoices. It’s also wise to note the date and time of the incident, as well as any conversations with your insurance adjuster.
Practical Tips to Prevent Future Pipe Bursts
To prevent future pipe bursts, you need to insulate your pipes properly, especially in areas prone to freezing.
Additionally, keep an eye on temperature fluctuations in your home, as sudden changes can increase pressure within your plumbing system.
Taking these steps can greatly reduce the risk of costly water damage.
Insulate Your Pipes Properly
When winter temperatures plunge, ensuring your pipes are properly insulated becomes essential to prevent future bursts.
Start by selecting high-quality pipe insulation materials, such as foam or fiberglass, which provide effective thermal protection. Cover all exposed pipes, especially those in unheated areas like attics and basements. Secure insulation with tape or clips to maintain its position.
Pay attention to joints and bends, where heat loss can occur; these spots need extra insulation. Additionally, consider using heat cables for particularly vulnerable sections.
Proper temperature regulation minimizes the risk of freezing, considerably lowering the chance of burst pipes. By taking these proactive steps, you’ll create a safer environment for your plumbing and foster a sense of community care for your home.
Monitor Temperature Fluctuations
As temperatures fluctuate, it’s essential to keep a close eye on your home’s environment to prevent pipe bursts. Effective temperature monitoring can help you identify fluctuation effects on your plumbing system.
Invest in smart thermostats or temperature sensors to track changes, especially during seasonal changes. Pay attention to pipe materials; some, like PVC, are more susceptible to temperature extremes.
Implement insulation tips, such as insulating exposed pipes and utilizing heat tape in vulnerable areas. Regular preventative maintenance checks can also mitigate weather impacts, ensuring your plumbing remains intact.
Frequently Asked Questions
Can I Use a Hairdryer to Dry Wet Areas?
Yes, you can use a hairdryer for drying wet areas, but make sure you follow safety precautions. Monitor the heat to avoid damage, and keep the dryer at a safe distance to enhance hairdryer effectiveness.
How Long Should I Wait Before Starting Cleanup?
You should wait no more than a few hours before starting cleanup after a burst pipe. Quick cleanup timing is essential for effective emergency response, preventing mold growth and further damage to your property.
Will Homeowners Insurance Cover Burst Pipe Damage?
Yes, homeowners insurance typically covers burst pipe damage, depending on your insurance policy. To ensure coverage, familiarize yourself with the claim process, documenting damages and contacting your insurer promptly for assistance and guidance.
What Should I Do if Mold Is Already Present?
If mold’s already creeping in like an unwelcome shadow, act swiftly. Use effective cleanup techniques, like scrubbing surfaces and drying the area, and implement mold prevention measures to keep your environment safe and welcoming.
How Can I Tell if My Pipes Are at Risk?
To tell if your pipes are at risk, schedule regular pipe inspections and check for signs of wear. Implement freeze prevention measures, like insulation, to protect against extreme temperatures and reduce the chance of bursting.
Final Thoughts
In the aftermath of a burst pipe, swift action is essential. You might find yourself unexpectedly wearing rubber boots while pulling out a wet/dry vacuum, all while a neighbor, facing a similar crisis, lends you a spare pump. This coincidence highlights the importance of community support in times of distress. By following these cleanup steps and documenting the damage, you protect your home and pave the way for a smoother recovery process.