
When water damage hits, you need to move fast to stop the leak, clear standing water, and start structural drying before moisture spreads deeper into walls, floors, and insulation. Fast House Drying After Water Damage helps limit mold and costly repairs by using the right sequence of ventilation, dehumidification, and moisture checks. The key is knowing which areas dry quickly and which ones stay hidden, because trapped moisture can continue causing damage long after surfaces appear dry.
Key Takeaways
- Stop the leak immediately, shut off the water source, and remove standing water with a wet/dry vacuum, pump, or mop.
- Open windows, run fans, and use air movers to boost airflow across wet floors, walls, and furniture.
- Place dehumidifiers in the wettest rooms and keep doors open to speed moisture removal evenly.
- Check hidden areas like insulation, drywall, and under cabinets for trapped moisture using a moisture meter.
- Dry all affected materials within 24 to 48 hours to prevent mold, odors, and structural damage.
Start Drying Your House Fast After Water Damage
As soon as the water is gone, move fast to start drying every affected area of your house. Your emergency response should focus on airflow, moisture removal, and surface drying techniques.
Open windows if outdoor humidity is low, run fans to push air across damp walls and floors, and set dehumidifiers in the wettest rooms.
Pull back rugs, move furniture off damp surfaces, and separate items so air can circulate.
Check hidden areas behind baseboards, inside closets, and under cabinets, because trapped moisture can spread damage quickly.
You’re not dealing with this alone; a coordinated approach helps your home recover faster.
Keep monitoring humidity and dampness each hour, and keep equipment running until materials feel dry and stable.
Stop the Leak and Remove Standing Water
First, shut off the water source at the main valve so the leak stops and no more moisture enters the structure.
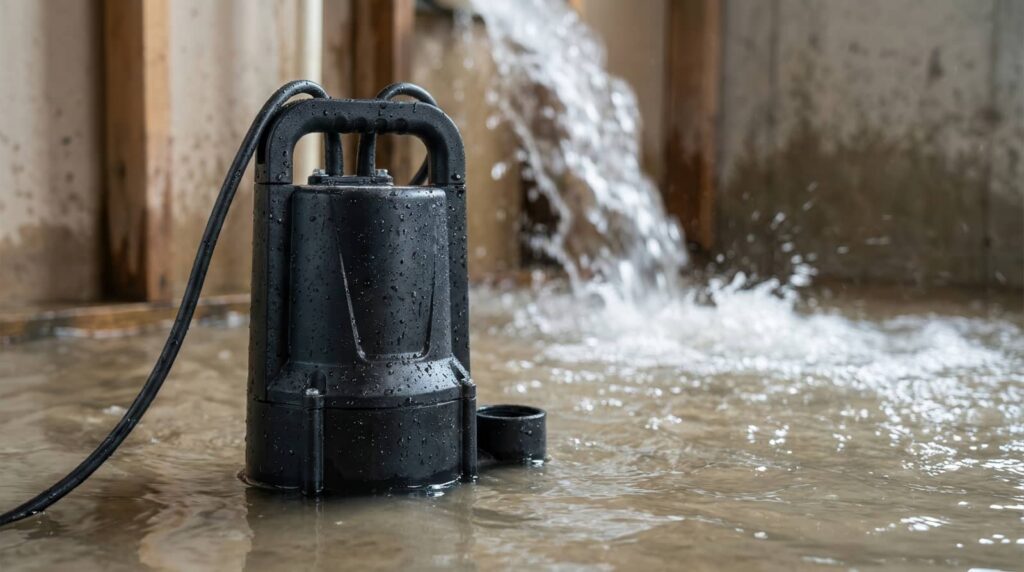
Then remove standing water with a wet/dry vacuum, pump, or mop, working from the deepest areas outward.
The faster you extract the water, the less chance you’ve got of structural damage and mold growth.
Shut Off Water Source
Before anything else, shut off the water source to stop the leak, then remove any standing water you can safely reach.
If you can’t find the main valve quickly, check under sinks, behind appliances, or near the meter so you can isolate the affected line fast.
Once the flow stops, confirm the water supply is no longer feeding the damaged area and note any new drips.
Keep everyone clear of wet outlets and damaged equipment while you work.
If the leak came from a fixture or pipe, schedule a plumbing inspection right away so the source doesn’t return.
You’re taking the right first steps, and that quick action helps your home dry faster and protects the rest of your space from further damage.
Extract Standing Water
Get the standing water out quickly with a wet/dry vacuum, pump, mop, or towels, working from the outer edges toward the center so you don’t spread contamination. Use steady passes and empty containers often to keep suction strong.
If water has reached carpet pad, baseboards, or hidden cavities, lift materials enough to let air move through. These water extraction techniques speed drying and reduce mold risk.
Wear gloves and boots, and keep the area clear so your crew can move safely. Check for new seepage while you work; if the leak resumes, stop and fix it before continuing.
Good standing water removal helps your home dry faster, protects belongings, and gets you back to normal with less stress and more confidence.
Open Walls, Floors, and Cabinets
Open wet walls, flooring, and cabinet toe-kicks so you can expose trapped moisture and speed evaporation.
Remove saturated drywall, insulation, baseboards, and damaged cabinet panels that won’t dry safely in place.
Then create clear airflow paths with fans and dehumidifiers so the remaining structure dries faster and more evenly.
Expose Hidden Moisture
To dry a house quickly after water damage, you need to expose moisture trapped behind surfaces so air can reach it directly.
Start with moisture detection: use a meter or thermal camera to find damp pockets and hidden leaks inside wall cavities, subfloors, and cabinet bases.
Then open targeted access points, like inspection holes, lifted flooring edges, and cabinet backs, so airflow can move through the wet structure.
You’re not tearing things apart; you’re creating paths for drying and confirming the full extent of the damage.
Keep checking readings as you go, because trapped moisture can linger where you can’t see it.
When you expose these areas early, you help your drying team work with you, protect the structure, and restore your space faster.
Remove Wet Materials
Cut out and remove wet materials that can’t dry quickly, including soaked drywall, warped flooring, and waterlogged cabinet panels. You’ll protect the structure by opening up trapped cavities and exposing the edges of damage for faster recovery.
Use clean, controlled removal techniques: score drywall, lift baseboards, and take out damaged trim or cabinet backs without crushing surrounding surfaces. Bag debris right away so wet materials don’t rewet nearby framing or spread contamination.
Work methodically, and keep each opening as small as possible while still removing all compromised parts. If you’ve got a team, assign clear zones so everyone moves together and stays confident.
This step helps you reclaim the space, reduce hidden deterioration, and prepare the house for the next phase of drying.
Improve Airflow Paths
Now that damaged materials are out, you can improve airflow by opening interior pathways so dry air reaches trapped cavities faster. You’re creating a drying network that supports air circulation and helps your equipment work efficiently.
Remove toe kicks, open cabinet backs, and expose wall cavities where needed. Lift a few floorboards or access panels if moisture is trapped below. Use safe cuts, and label each opening so you can restore it cleanly later.
- Open closed cavities.
- Position fans to push air through them.
- Combine dehumidifiers with targeted ventilation techniques.
Keep pathways clear of debris, plastic, and furniture so air moves freely. You don’t need to tear everything apart; you just need smart openings that let your drying team breathe with you and finish the job faster.
Set Up Dehumidifiers and Air Movers
Set dehumidifiers and air movers as soon as the area is safe to enter, because fast, steady airflow and moisture removal help stop further damage.
Position dehumidifiers near the wettest zones, keeping doors open for balanced pull. For dehumidifier placement, leave space around intake and exhaust so the unit can work without restriction.
Place air movers low and aim them across damp surfaces, not straight at walls, to improve air mover efficiency. You’re building a coordinated drying setup that helps your space recover with the rest of your team.
Check cords, filters, and drain lines before you start, then run equipment continuously.
Revisit the layout after a few hours and adjust as needed so every room gets consistent drying support.
Understand Why Structural Drying Matters
Why does structural drying matter so much after water damage? You protect your home’s structural integrity when you remove hidden moisture fast, and you keep your space safer for everyone in your household.
Moisture retention can linger in framing, subfloors, and insulation, so you need a targeted drying plan that reaches those materials, not just the surface.
- Check damp areas with a moisture meter.
- Keep dehumidifiers and air movers running.
- Recheck readings until levels normalize.
When you dry the structure thoroughly, you lower the chance of warping, swelling, and lingering odors.
You’re not fixing alone; you’re restoring a shared place where you can feel confident again.
Stay consistent, verify progress, and trust the process.
Dry Ceiling Water Damage Before It Spreads
When ceiling drywall or plaster gets wet, you need to dry it fast before the moisture spreads into insulation, framing, and adjacent rooms.
Shut off the source, then open the space and run fans plus a dehumidifier to pull humidity down. Remove loose paint or sagging sections so air can reach the ceiling materials and dry them evenly.
Use a moisture meter to track moisture retention and confirm the area is improving. Keep temperature steady, and avoid sealing the surface too soon, since trapped dampness can slow recovery.
If you act now, you protect your home, reduce repair costs, and stay part of a crew that handles water damage the smart way.
Check for Trapped Moisture in Insulation
You should look for hidden moisture signs in the wall or ceiling cavity, since insulation can stay wet even when surfaces feel dry.
Inspect each insulation layer for discoloration, compression, or a damp odor, and open access points if needed to verify the condition.
Use a moisture meter to confirm trapped moisture so you can dry or replace affected insulation before it causes mold or structural damage.
Hidden Moisture Signs
Even after visible water dries, insulation can hold trapped moisture that slows drying and hides ongoing damage. You can spot hidden moisture signs by watching for cool walls, slight musty odors, and uneven drying near baseboards or outlets.
Use moisture detection tools to confirm suspect areas and find hidden leaks before they spread. Stay methodical and keep your team focused:
- Check for soft or swollen drywall.
- Listen for faint drips or bubbling sounds.
- Compare readings across nearby surfaces.
If one zone stays damp, treat it as a warning, not a guess. You’ll protect your home faster when you respond early, document each finding, and keep airflow moving.
That steady approach helps everyone on your side work with confidence and get drying back on track.
Inspect Insulation Layers
Inspect insulation layers next, because damp batts and cavities can trap moisture long after surface materials seem dry.
You’ll want to open targeted wall or ceiling sections and check each bay by insulation type, since fiberglass, cellulose, and foam behave differently after wetting.
Fiberglass may sag and hold water between fibers, while cellulose can clump and stay heavy.
If you find saturated areas, remove only the affected sections so the rest of your home team stays intact.
Look for torn or displaced moisture barriers, since they can let humid air keep feeding hidden wet spots.
Restore airflow through each cavity, and replace damaged materials promptly.
When you inspect carefully, you protect your house, your schedule, and everyone helping you recover.
Use Moisture Meters
Use a moisture meter to confirm whether insulation still hides trapped water, because surface dryness can be misleading after a leak or flood. You’ll protect your home and your crew by checking deeper, where dampness lingers and mold can begin.
Start with meter calibration so your readings stay reliable, then test several spots around the affected wall cavity.
- Probe at corners, seams, and low points.
- Compare readings with dry, unaffected areas.
- Recheck until moisture detection shows steady, safe levels.
If values stay elevated, keep drying equipment running and open access for airflow. You’re not guessing here—you’re verifying.
That careful approach helps your space recover faster and keeps everyone in the house confident, informed, and on the same page.
Prevent Mold During Flood Cleanup
To prevent mold during flood cleanup, start drying wet materials right away and remove anything you can’t fully dry within 24 to 48 hours. You’ll protect your space and your family by separating salvageable items from porous materials that hold moisture.
Focus on mold prevention by scrubbing hard surfaces with detergent and clean water, then drying them completely with fans and dehumidifiers. Wear gloves, an N95 respirator, and eye protection to limit exposure while you work.
These cleanup tips help you stay organized: bag debris, label keep-or-discard items, and check hidden spots like baseboards, insulation, and under cabinets.
Keep indoor humidity low and keep air moving until everything feels dry. You’ve got this, and every careful step strengthens your home’s recovery.
When to Call a Water Damage Professional
If the water came from a contaminated source, soaked walls or ceilings, or reached electrical systems, call a water damage professional right away. You don’t have to guess alone; you’ve got a team mindset here.
A professional assessment helps you act fast when water damage signs suggest hidden risk.
- Call immediately if you smell sewage, see discoloration, or find bubbling paint.
- Reach out if water wicks into insulation, drywall, or subflooring.
- Get help when moisture spreads beyond one room or returns after wiping.
A certified technician can measure damage, set drying goals, and protect your home’s structure.
That support keeps you from missing problems and helps your household move forward with confidence.
How to Tell When Your House Is Dry
How can you tell the drying process is complete? You’ll see drying indicators in stages: surfaces feel cool but not damp, baseboards sit tight, and no musty odor lingers.
Use a moisture meter to confirm moisture levels in drywall, wood, and subflooring match normal readings for your home. Check hidden spots too, like behind trim, under cabinets, and inside closets, because moisture often hides there.
Run your hand along walls; they should feel uniformly dry, not patchy or soft. If paint blisters, flooring cups, or condensation returns, keep drying.
When your readings stay stable for 24 to 48 hours and dehumidifiers stop collecting water, you’re likely done. Trust the process, stay consistent, and you’ll know your home’s dry, safe, and ready.
Frequently Asked Questions
Can I Stay in My House During the Drying Process?
Yes, you can, if drying techniques keep moisture controlled and you’re staying safe. You’ll need good ventilation, isolated wet areas, and quick monitoring. Follow restoration guidance, and you’ll protect your home and your household.
How Much Does Professional Water Damage Drying Cost?
You’ll usually pay $500–$3,000, but that’s not the whole story. Your cost factors include damage extent, drying techniques, and equipment time. Act fast, and you’ll protect your home, your comfort, and your crew.
Do I Need Insurance Before Starting Cleanup?
No, you don’t need insurance before cleanup, but you should contact your insurer right away. Review insurance options, document damage, and start cleanup procedures quickly. You’ll protect your home, your recovery, and your community support.
Can Wet Hardwood Floors Be Saved After Flooding?
Yes, your wet hardwood floors can be saved, if you act fast. Like a soaked violin, they need careful drying techniques and hardwood floor restoration. You’ll improve your odds by removing water, dehumidifying, and monitoring moisture levels.
How Long Does Mold Take to Appear After Water Damage?
Mold can appear within 24 to 48 hours after water damage, especially if moisture lingers. You should control mold growth factors fast, use prevention strategies, and act confidently to protect your home and community.
Conclusion
You can dry your house fast after water damage by acting immediately: stop the leak, remove standing water, open wet areas, and run dehumidifiers and air movers nonstop. Check walls, cabinets, insulation, and floors for trapped moisture, because hidden water can cause mold and structural damage. Keep monitoring moisture levels until they normalize. If drying slows or damage is widespread, you should call a professional to verify the structure’s dryness and safety.